đŸ€– 2D Grid-Based Movement

2D Grid-Based Movement

Introduction In this tutorial, we are going to implement a “grid-based movement” system for a 2D game in Godot. It’s not overly complex. Some of you might be wondering, what exactly is grid-based movement? Grid-based movement is when objects, such as characters, move one grid (one tile) at a time on a game screen that is divided into evenly spaced grid lines. To give some examples, think of older games like the Fire Emblem series, Tactics Ogre, or various simulation games. Even RPGs like Final Fantasy and Dragon Quest during their 2D eras employed grid-based movement when it came to character movement on maps. Puzzle games like Tetris often use grid-based movement for the blocks or pieces as well. As you can see, grid-based movement is widely used across many genres of games, making it a highly versatile feature. Environment This tutorial was created under the following environment: Godot version: 4.3 Computer OS: macOS 14.6.1 By the way, the project I made can be found in this GitHub repository . Setting Up the Window After creating a new project in Godot, the first step is to adjust the project settings....
2024-09-06 Â· 8 min

đŸ€– Homing Missiles in Godot3

Homing Missiles in Godot

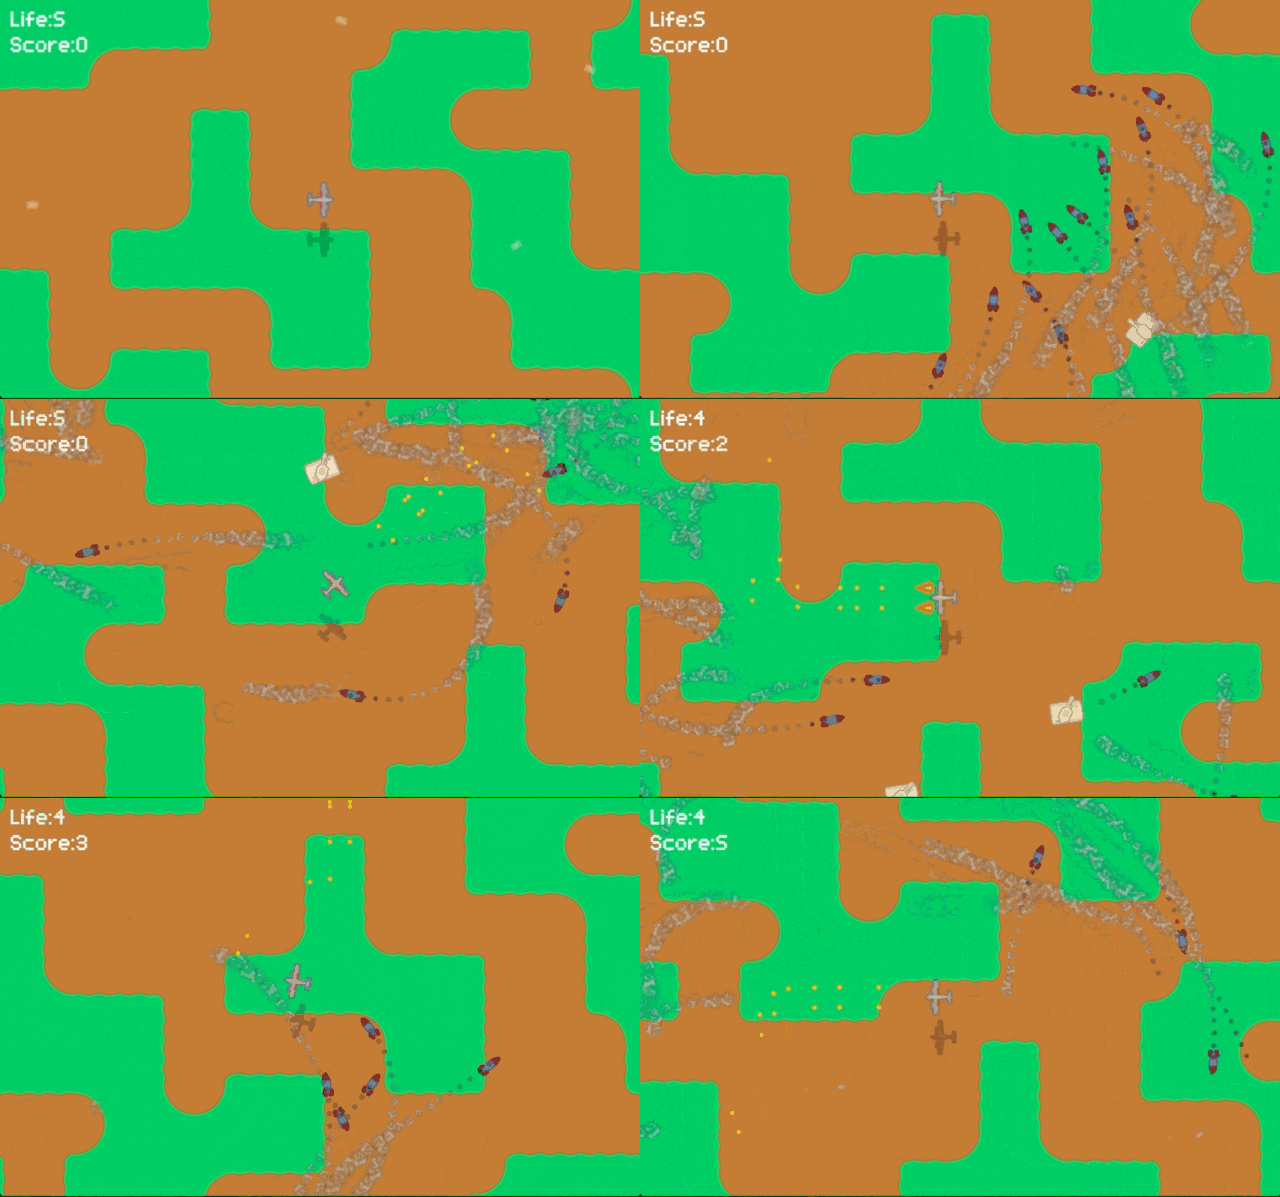
In this tutorial, we will create a homing missile in a 2D top-down shooter. A homing missile is a missile that tracks its target. Environment This tutorial was created in the following environment ・Godot version: 3.4.2 ・Computer OS version: macOS 11.6.5 To focus on the creation of the homing missile, the rest of the project has been pre-created in advance. The project file for this tutorial is located at GitHub repository . After downloading the .zip file, import the “project.godot” file in the “Start” folder into the Godot Engine, and you can start the project with only the preliminary work completed. If you would like to see the completed project in a hurry, import the “project.godot” file from the “End” folder. All the assets imported into the project were downloaded from KENNEY website. I used an asset pack called Tower Defense (top-down) . I just want to thank them for making such a great asset pack available to the public. Preliminary Preparation The following game specifications, except...

2022-05-28 Â· 8 min

đŸ€– Bullet Hell in Godot3

Bullet Hell in Godot

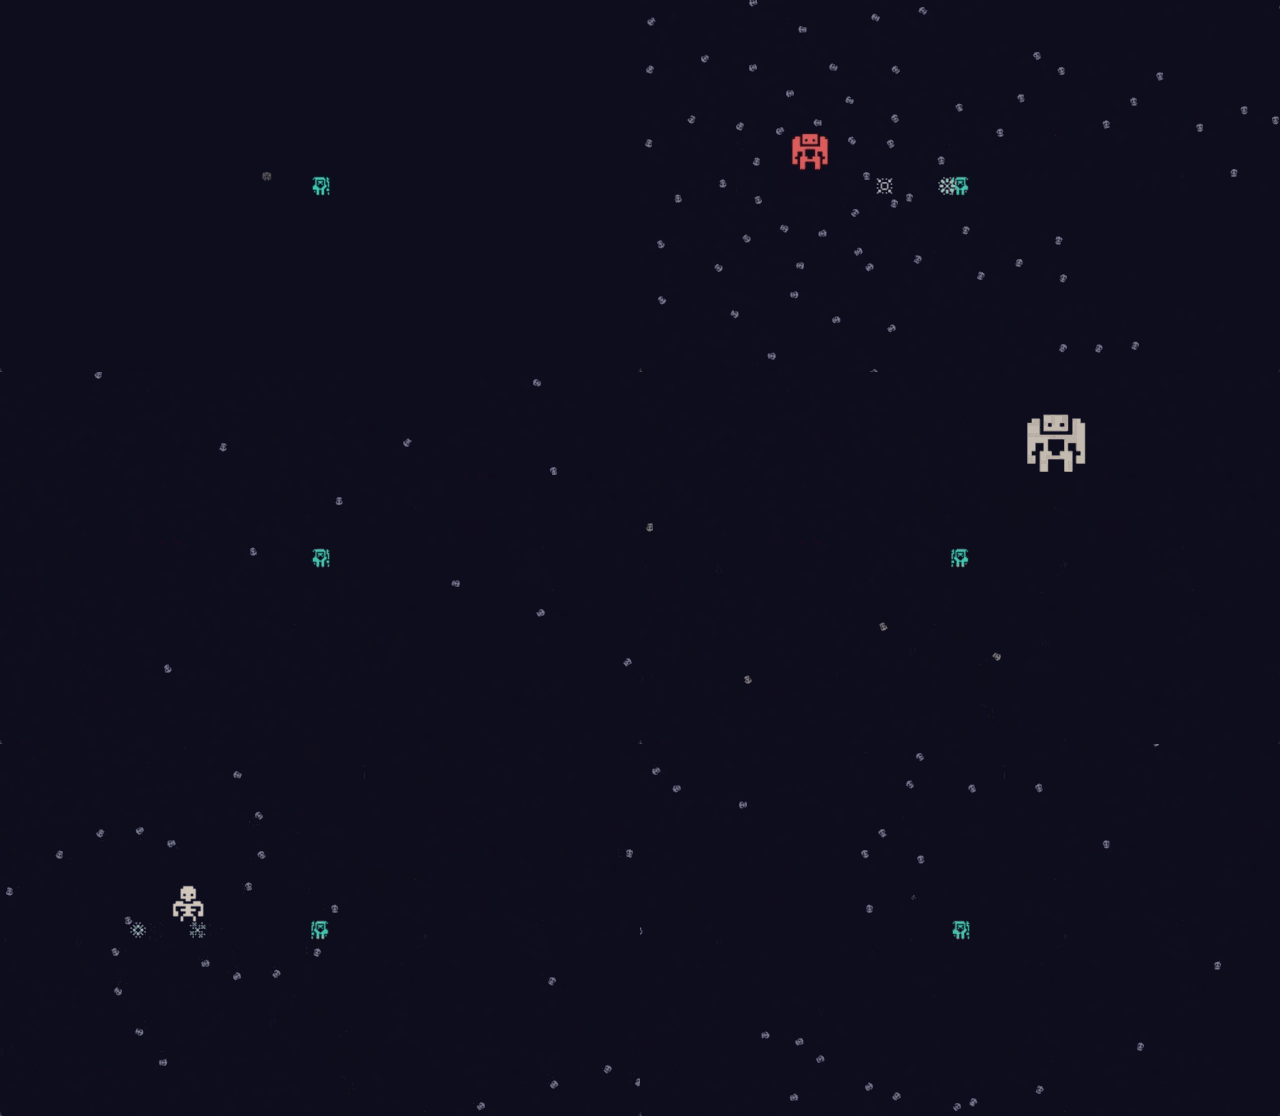
In this time, we will create a bullet hell aka barrage for a barrage shooting game. The bullet hell is a large number of bullets (or similar long-range attacks) like a curtain. A “bullet hell shooter” is a game in which the player shoots at and defeats enemy characters while dodging and weaving through the gaps between the bullets. Some games specialize in simply dodging the bullets. Many games are based on the motif of spaceships and fighter planes that fit the image (in this tutorial, a ground battle between a wizard and a monster though). In this tutorial, we will focus only on creating a bullet hell. Also, while bullet hell come in various shapes and sizes, we will focus on rotating-type bullet hell. Environment This tutorial was created in the following environment ・Godot version: 3.4.2 ・Computer OS version: macOS 11.6.5 The project file for this tutorial is located at GitHub repository . After downloading the .zip file, import the “project.godot” file in the “Start” folder into the Godot Engine, and you will be able to start with a project that has only been prepped....

2022-05-23 Â· 15 min

đŸ€– Four Types of Guns for Top-down Shooting in Godot3

Four Types of Guns for Top-down Shooting in Godot

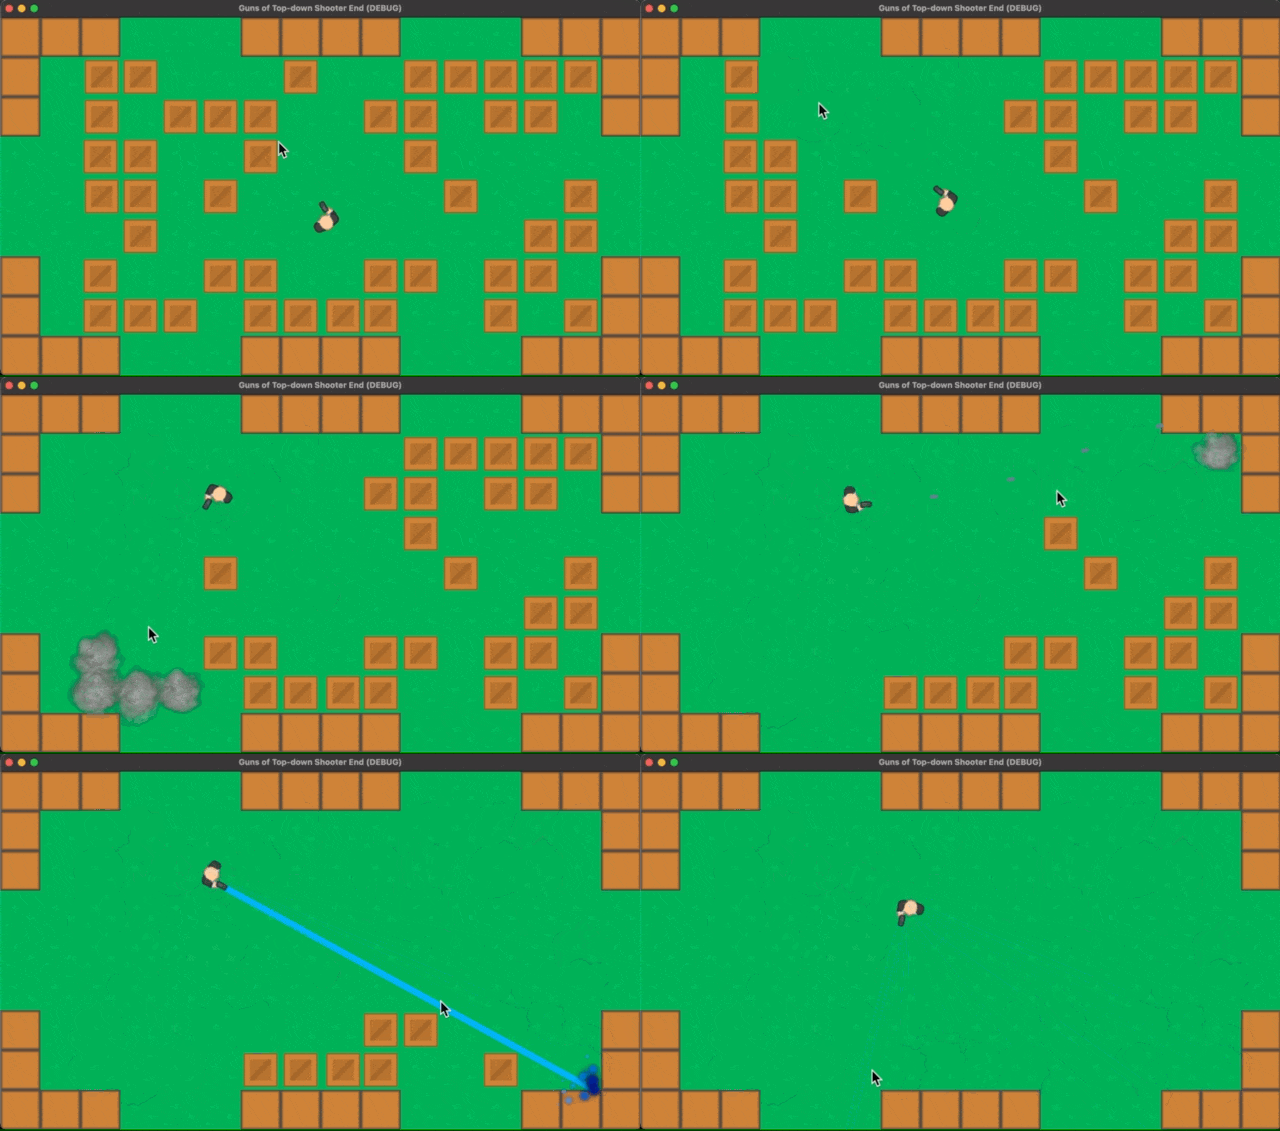
In this tutorial, we are going to make four types of guns that commonly appear in 2D top-down shooters. Specifically, they are as follows. Handgun Shotgun Machine gun Laser Gun Environment This tutorial was created in the following environment ・Godot version: 3.4.2 ・Computer OS version: macOS 11.6.5 Since this tutorial will focus on gun creation, the following has been prepared in advance. 1. Game world A scene called “World.tscn” was prepared, and the appearance was simply created by adding a “TileMap” node. In addition to the “TileMap” node, a “Player” node and several “Obstacle” nodes were added. For these, we created individual scenes and added the instances. 2. Player Character Created as “Player.tscn” scene. The root node is the “KinematicBody2D” class, and the “Sprite” and the “CollisionShape2D” were added as child nodes. The texture of the “Sprite” node is a hitman with a gun. A node named “Muzzle” of the “Position2D” class was placed at the tip of the image of the gun held by the hitman....

2022-05-07 Â· 10 min