šŸ¤– 2D Grid-Based Movement

2D Grid-Based Movement

Introduction In this tutorial, we are going to implement a ā€œgrid-based movementā€ system for a 2D game in Godot. Itā€™s not overly complex. Some of you might be wondering, what exactly is grid-based movement? Grid-based movement is when objects, such as characters, move one grid (one tile) at a time on a game screen that is divided into evenly spaced grid lines. To give some examples, think of older games like the Fire Emblem series, Tactics Ogre, or various simulation games. Even RPGs like Final Fantasy and Dragon Quest during their 2D eras employed grid-based movement when it came to character movement on maps. Puzzle games like Tetris often use grid-based movement for the blocks or pieces as well. As you can see, grid-based movement is widely used across many genres of games, making it a highly versatile feature. Environment This tutorial was created under the following environment: Godot version: 4.3 Computer OS: macOS 14.6.1 By the way, the project I made can be found in this GitHub repository . Setting Up the Window After creating a new project in Godot, the first step is to adjust the project settings....

2024-09-06 Ā· 8 min

šŸ¤– Making a Tilemap with TileMapLayer

Creating a Tilemap with TileMapLayer

Introduction With Godot 4.3, the previously used TileMap class has been deprecated (meaning it wonā€™t be updated anymore), and a new TileMapLayer class has been added in its place. So, Iā€™m going to actually create a tilemap using TileMapLayer! My environment at the time of writing Godot version: 4.3 Computer model: MacBook Air M1, 2020 OS: macOS 14.6.1 Setting the Screen Size Iā€™ll be using 16x16 px tile images this time, so Iā€™ll make the Viewport small enough to fit the tiles neatly. After creating a new project, I went to Project Settings > General tab > Window and set the following: Size: Viewport Width: 256 Viewport Height: 160 Window Width Override: 1024 (4 times) Window Height Override: 640 (4 times) *Window Width Override and Window Height Override can be set after enabling Advanced Settings in the top right of the settings panel. Then I scrolled down a bit in the settings panel and set the stretch mode to viewport so that the game graphics scale to fit the window size. I left the aspect ratio as is. Stretch: Mode: viewport Aspect: keep (default) Scale: 1 (default) Scale Mode: fractional (default) Importing Assets for Tiles I downloaded the 1-Bit Pack from KENNEY ....

2024-08-23 Ā· 5 min

šŸ¤– Distributing Games from Xcode to App Store Connect

Implementation after adding the Game Center plugin

In this article, Iā€™ll explain how to upload an iOS game exported from Godot to App Store Connect using Xcode. Itā€™ll probably be short, so feel free to take it easy. Also, Iā€™m assuming youā€™re familiar with Xcode, which is a macOS-exclusive app, so Iā€™ll proceed with that in mind. Macs can be pricey, but if you want to release apps like iOS or macOS on the App Store, itā€™s an essential tool. I got mine with a 2-year Orico loan. It was tough, though šŸ˜† Environment at the time of writing this article Xcode Version: 15.3 (15E204a) Computer Model: MacBook Air M1, 2020 OS: macOS 14.4.1 Working with Xcode First, letā€™s open the project for the iOS version of your game exported from Godot in Xcode. If you peek into the folder where you exported it via Finder, youā€™ll find a file with a .xcodeproj extension. Just double-click on that (if thereā€™s a .xcworkspace file generated due to adding plugins like Google AdMob, open that instead, but I wonā€™t dive into that here). Enabling Game Center Capability in Xcode *You can skip this section if you donā€™t plan to integrate with Appleā€™s Game Center....

2024-05-13 Ā· 5 min

šŸ¤– Implementing Game Center Features After Adding Its Plugin

Implementation After Adding Game Center Plugin

In the previous article šŸ¤– Adding Game Center Plugin to Your Project , I explained how to add the Game Center plugin from the official Godot iOS plugins to your project. In this article, Iā€™ll guide you on implementing the functionalities of Appleā€™s Game Center using the added plugin. If youā€™re wondering what Game Center is all about, I briefly explained it in the beginning of the previous article, so you might want to check that out first. Broadly, Iā€™ll explain in two main sections: Setting Up Game Center in App Store Connect Implementing Game Center in GDScript By the way, the basic usage of plugins is documented in Godot Docs / iOS plugins / iOS plugins , so it would be reasonable to start there. Also, you can find the code for the Game Center plugin on GitHub at Godot iOS GameCenter plugin . If you want to delve into the details, you can check it out. Personally, I found it a bit challenging at first. Environment at the Time of Writing Godot Version: 4.2.1 Computer Model: MacBook Air M1, 2020...

2024-05-11 Ā· 9 min

šŸ¤– Adding a Game Center Plugin to Your Project

Adding a Game Center Plugin to Your Project

Introduction In this article, Iā€™ll show you how to add the official Godot plugin for integrating with Appleā€™s Game Center to your project. First off, what is Game Center? For those unfamiliar, itā€™s a feature available on iOS devices like iPhones and iPads. By signing in with an Apple ID, Game Center records achievements and allows players to compete on leaderboards in supported games. Developers can set achievements, define their completion criteria, and decide what to compete for on the leaderboards. Using the Game Center plugin in Godot, you can easily integrate these features into your games, which is pretty awesome. By the way, you can find the official documentation and source code at the Godot iOS plugins repository , so take a look there first. If thereā€™s anything you donā€™t quite understand, you can always come back to this article. Author's Environment at the Time of Writing Godot Version: 4.2.1 Computer Model: MacBook Air M1, 2020 OS: macOS 14.4.1 Clone the Plugin Repository First, head over to this Github page and follow the steps there. However, theyā€™re not very detailed, so Iā€™ll explain the nitty-gritty parts here....

2024-05-05 Ā· 4 min

šŸ¤– Switching Sound Resources by Script in Godot3

Switching Sound Resources by Script in Godot3

This article explains how to switch between and play multiple sound resources (music and sound effect files) with a single ā€œAudioStreamPlayerā€ node. Basically, only one sound resource can be set per ā€œAudioStreamPlayerā€ node. In other words, you must add ā€œAudioStreamPlayerā€ nodes in the scene tree for each sound resource. You may feel useless in a situation where there are multiple nodes in the scene tree with the same settings except for the sound resource (as shown in the screenshot below), and you may also feel a little uncomfortable with the lack of visibility in the scene dock. So, if you have multiple sound resources that are never played simultaneously (e.g., multiple sound effects for different types of character attacks, multiple sound effects for different types of buttons on the UI, etc.), add only the minimum necessary ā€œAudioStreamPlayerā€ node for each use to your scene. If you code a program that switches sound resources according to the situation, there will be no waste and the scene dock will look cleaner. In this tutorial, we will prepare only one ā€œAudioStreamPlayerā€ node and...

2022-10-19 Ā· 3 min

šŸ¤– Animation State Machine in Godot3

Animation State Machine in Godot3

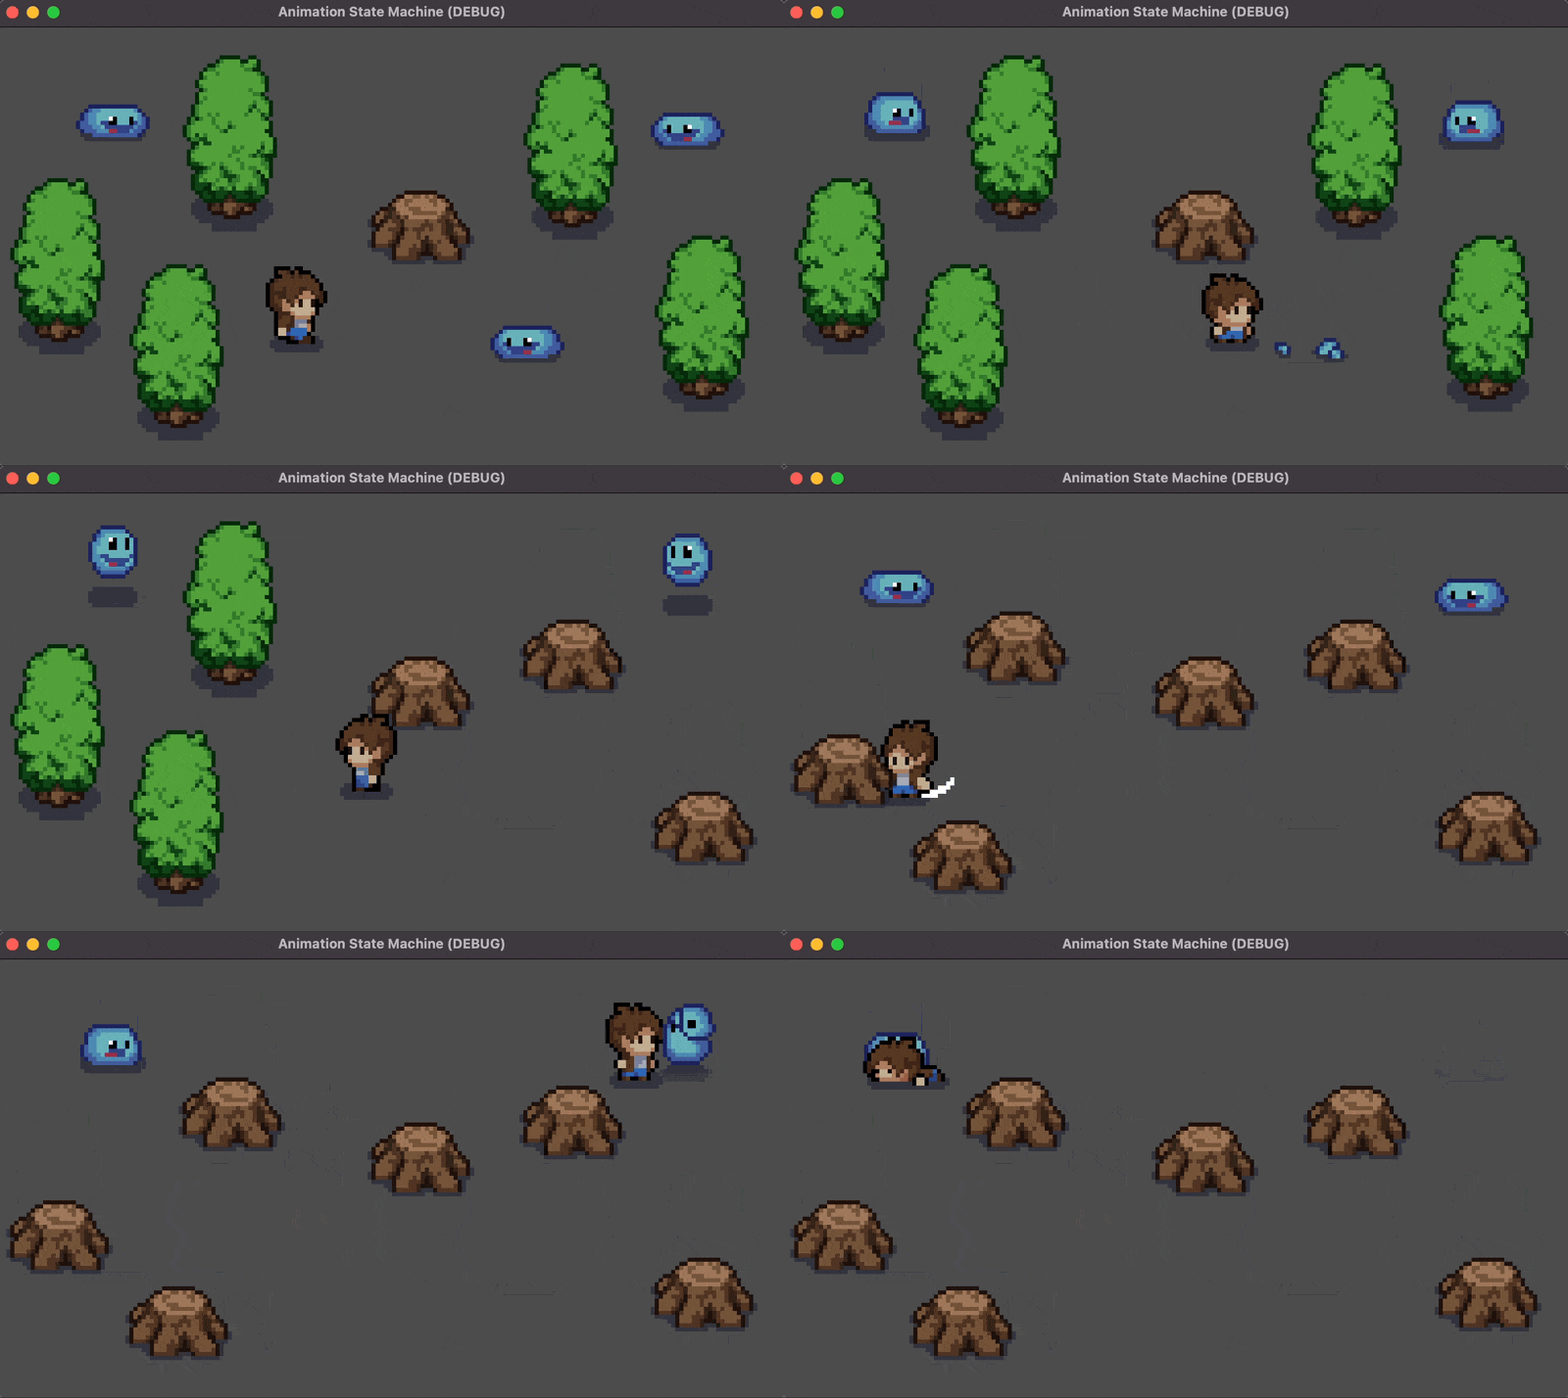
This article describes an implementation of an animated state machine for a 2D game. A state machine controls the transition of an object from one state to another. There are several restrictions on state transitions, such as when an object can only transition from one state to a limited number of states, or when an object can only transition to the next state after the current animation ends. For example, ā€œidleā€ and ā€œrunā€ can transition immediately in both directions, but ā€œidleā€ to ā€œattackā€ can transition immediately, but ā€œattackā€ to ā€œrunā€ cannot, and ā€œattackā€ to ā€œidleā€ can transition only after the ā€œattackā€ animation ends. The ā€œattackā€ to ā€œidleā€ transition occurs only after the ā€œattackā€ animation is over. If all of these controls were coded in script, the code would tend to be rather long and complex. On the other hand, Godotā€™s ā€œAnimationTreeā€ node can be used to reduce the amount of script code and improve readability. In this article, we will show you how to implement a state machine using the ā€œAnimationTreeā€ node. Environment Godot version: 3.5.1 Computer OS: macOS 12.6...

2022-10-14 Ā· 5 min

šŸ¤– 2D Hit Detection for Melee Attacks in Godot3

2D Melee Attacks in Godot3

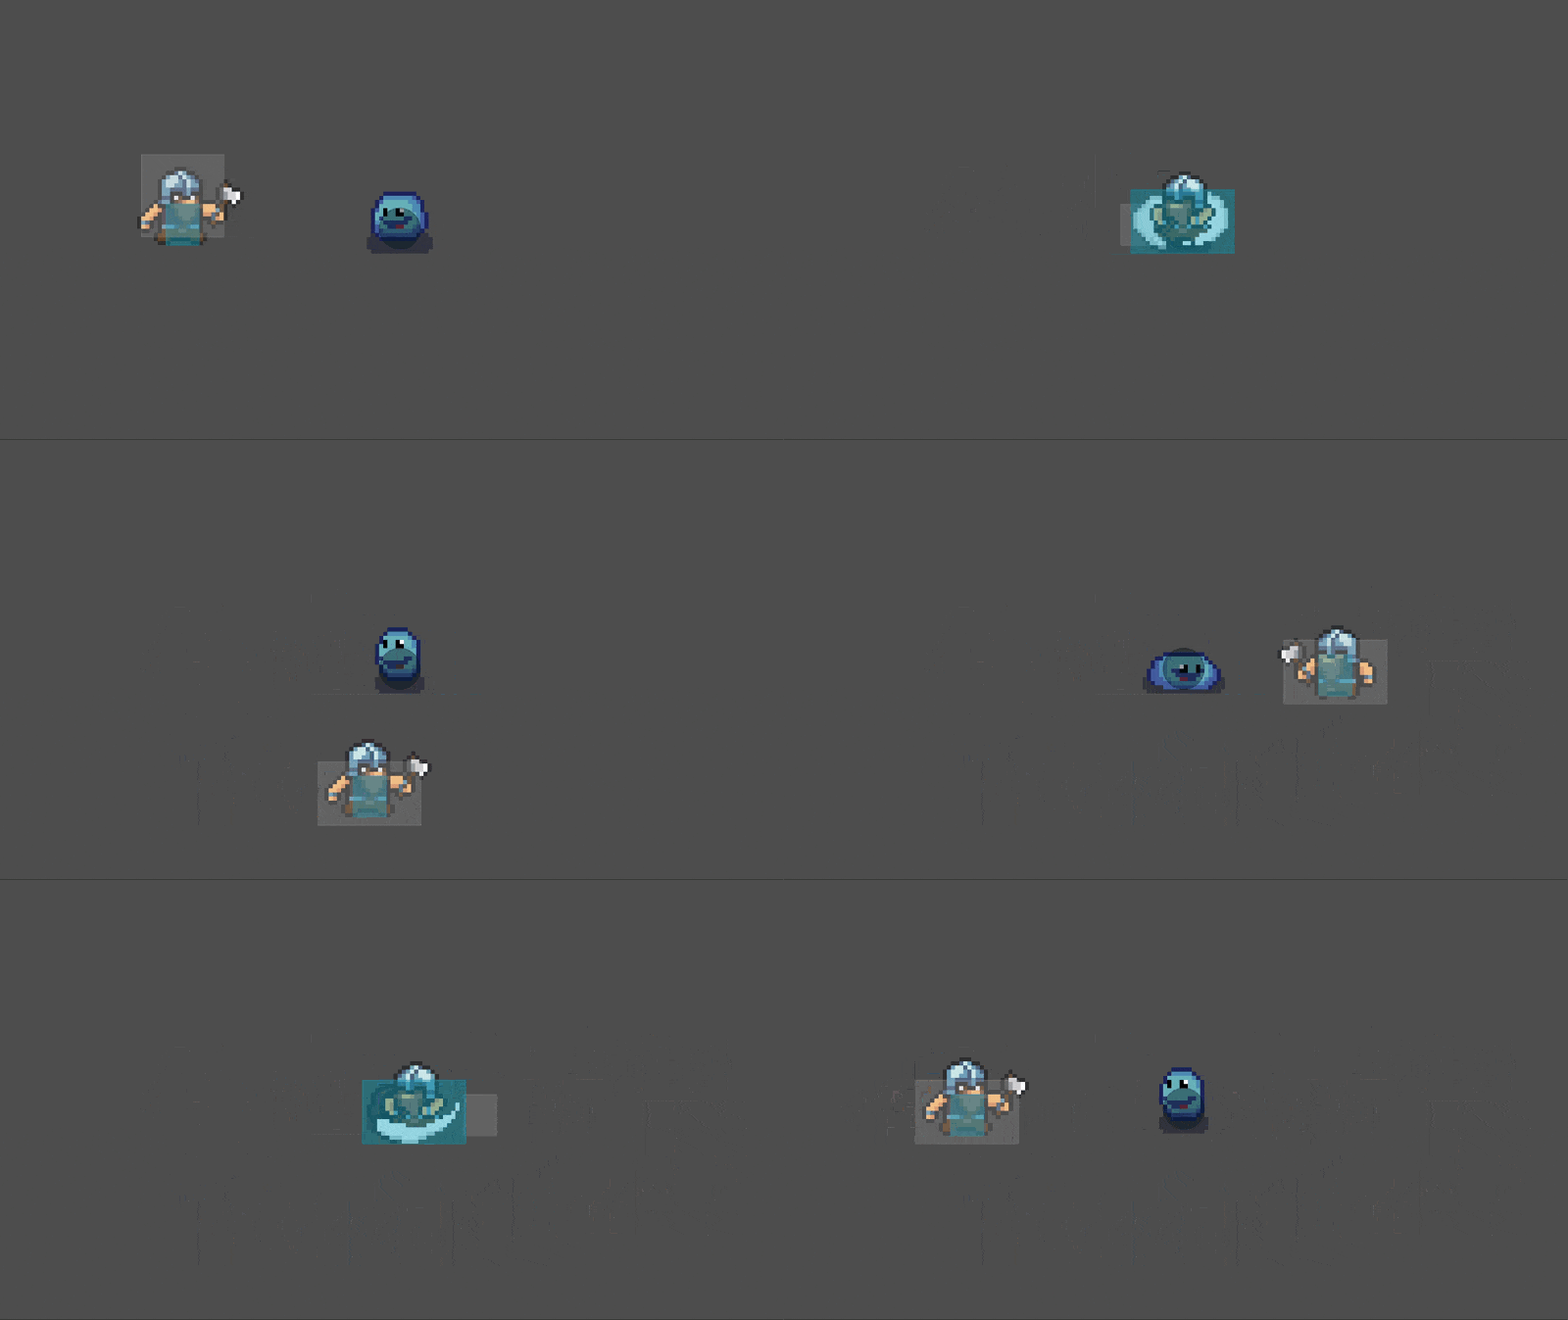
This article introduces a method for implementing simple hit detection for melee attacks in 2D games. This is a commonly used method where the object to attack (e.g., player character) has a collision shape (called ā€œHit Boxā€) that is only active during the attack, and the object to be attacked (e.g., enemy character, destructible barrels, crates, grass, etc.) has a collision shape (called ā€œHurt Box). The hit judgment of the attack can be implemented by enabling/disabling the Hit Box and Hurt Box, and changing their size and position in accordance with the animation of the attack. This is relatively easy to implement, so letā€™s get started. Environment Godot version: 3.5.1 Computer OS version: macOS 11.6.5 Basic Articles You may also find the following articles useful. Downloading Godot Project Manager of Godot Add Actions to Input Map First, go to ā€œProjectā€ > ā€œProject Settingsā€ > ā€œInput Mapā€ tab and add the following actions: right: D key left: A key down: S key up: W key attack: Space bar Create a Player scene Create a scene for the player character. Create the...

2022-10-05 Ā· 6 min

šŸ¤– 2D Grid Based Path Finding in Godot3

2D Grid Based Path Finding in Godot3

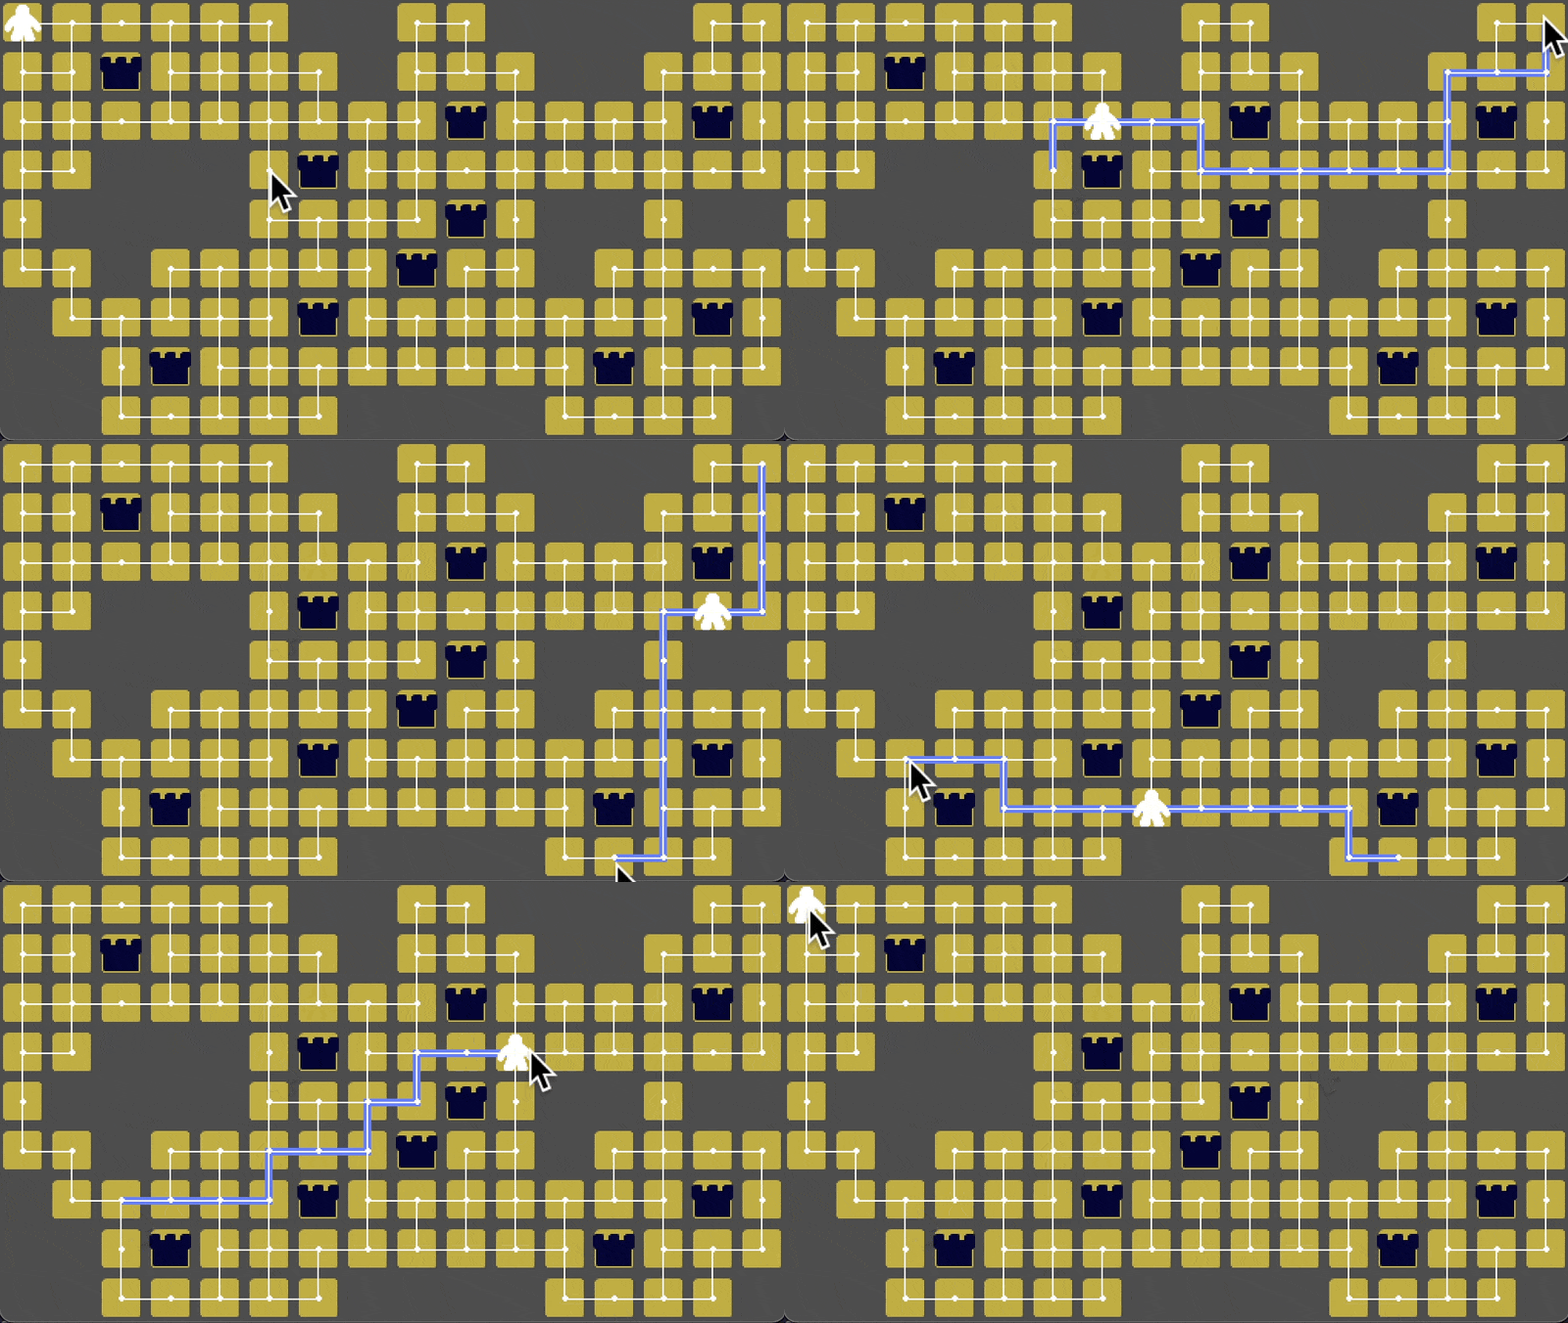
This article is a tutorial on how to implement grid-based path finding in 2D games using the AStar algorithm. For 2D pathfinding that is not grid-based, please refer to the article 2D Path Finding in Godot3 . I hope you will choose the article that best suits the game you want to make. The final project file in this tutorial is located in the GitHub repository . After downloading and extracting the .zip file, you can import the ā€œproject.godotā€ file into the Godot Engine to see the project directly. Translated with www.DeepL.com/Translator (free version) Environment Godot version: 3.5 Computer OS: macOS 11.6.5 Basic Articles You may also find the following articles useful. Downloading Godot Project Manager of Godot About AStar In this article, we will implement grid-based routing using a search algorithm called AStar. It is useful when you want to automatically move objects along a grid from the current location to the destination. For example, this method is ideal for puzzle games where you move pieces on the board, or strategy simulation games where you move characters of both...

2022-09-22 Ā· 6 min

šŸ¤– 2D Path Finding in Godot3

2D Path Finding in Godot

This tutorial introduces Path Finding in 2D games. Path finding is a function that determines the shortest possible path from an object to its destination, for example, when moving an object to a certain destination. Up to Godot 3.4, the Navigation node was used to implement path finding. This was not particularly inconvenient, but the methodology for game development using it was limited and inapplicable in some areas. This time, I would like to introduce an implementation method using Navigation Server, which was added to Godot 3.5. This is a backport from Godot 4, which is currently under active development. This article is intended for users of Godot 3.5 or later. Users of Godot version 3.4 or earlier should take note. The final project file for this tutorial is available at GitHub repository . You can also check the project directly by downloading the .zip file and importing the ā€œproject.godotā€ file in the ā€œEndā€ folder with the Godot Engine. Environment Godot version: 3.5 Computer OS: macOS 11.6.5 Basic Articles You may also find the following articles useful. Downloading Godot Project...

2022-08-16 Ā· 8 min

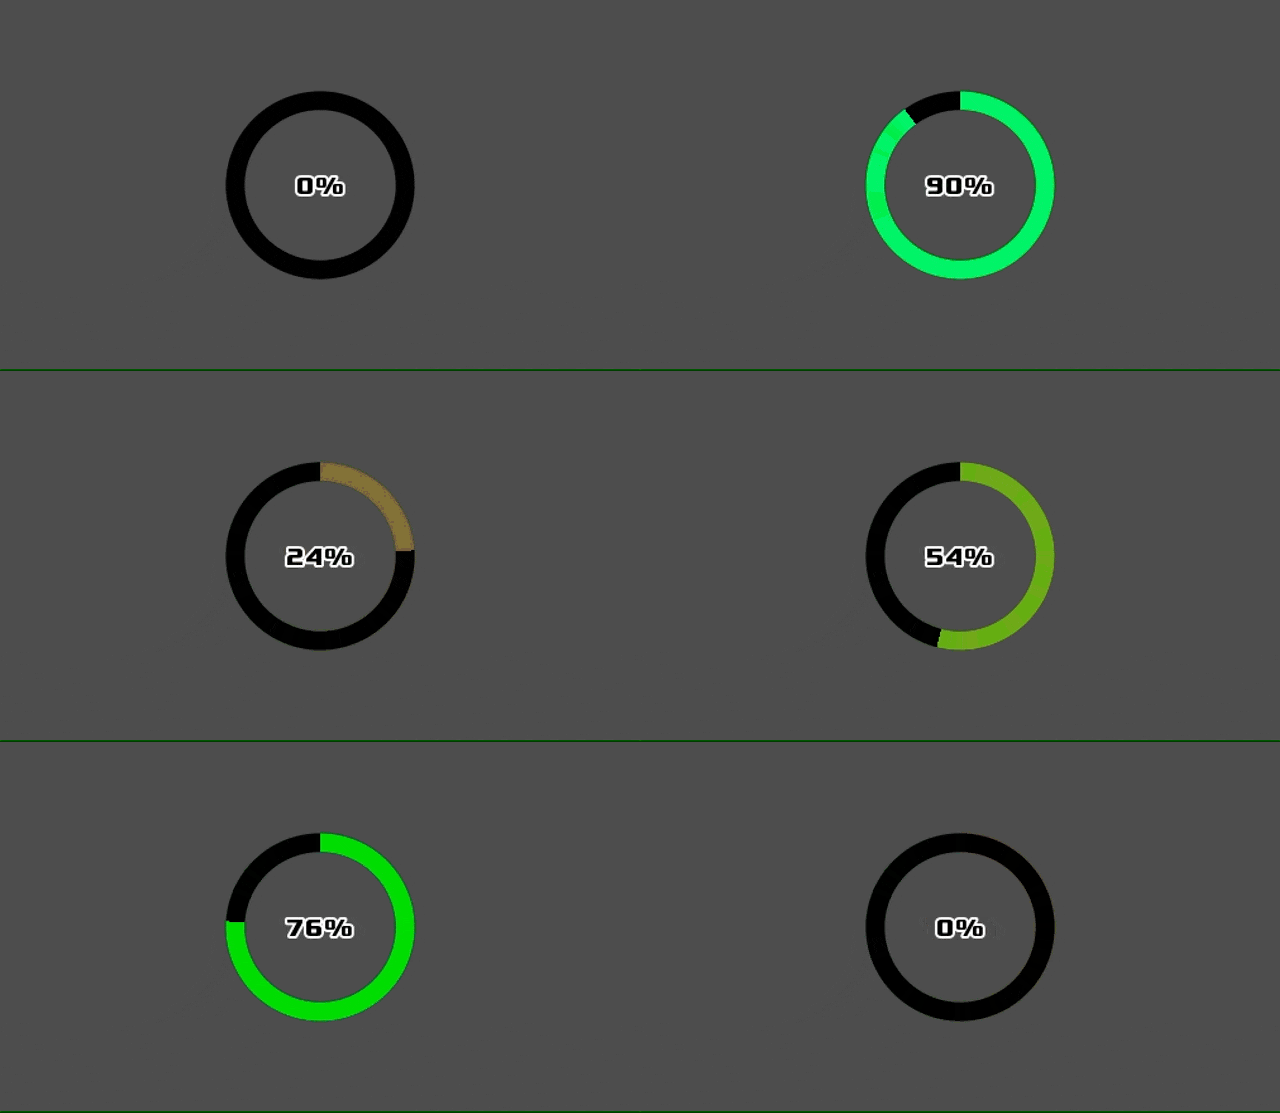
šŸ¤– Circular Progress Bar in Godot3

Circular Progress Bar in Godot

In this article, I will show you how to create a circular progress bar. By using a circular progress bar instead of the usual portrait or landscape orientation, you can add a little accent to your screen, so please refer to this tutorial if you find a use for it. At the end of the tutorial, we will also show you some sample progress bars that are not circular (e.g., heart-shaped), so if you are interested, please take a look at them as well. The final project file for this tutorial is available at GitHub repository . If you download the .zip file and import the ā€œproject.godotā€ file in the ā€œEndā€ folder with the Godot Engine, you can check the project directly. Environment 惻Godot version: 3.4.4 惻Computer OS version: macOS 11.6.5 Other Articles Please also use the following articles to help you start creating your game. Downloading Godot Project Manager of Godot Preparation Preparing an image of the circular progress bar If you have a drawing application...

2022-08-05 Ā· 5 min

šŸ¤– 2D Screen Shake in Godot3

2D Screen Shake in Godot

In this article, I will explain how to implement an effect, ā€œscreen shakeā€, in 2D games. It is not an absolutely necessary element of a game, but if used well, it can make the playerā€™s game experience more interactive and directly affect the user experience. For example, there are many situations where it could be used, such as when a player fires a gun, takes damage from enemies, or falls from a high place. By the way, this kind of element that is not necessary but makes the game more interesting by adding it is called ā€œgame juiceā€ in English. I have one more vocabulary in English, and I am a little wiser now. There are already many resources on the Web that explain how to implement screen shake, and of course there are methods other than those introduced here. This time, we refer to the following video and article in particular, so please check them as well for a deeper understanding. Reference YouTube: GDC - Math for Game Programmers: Juicing Your Cameras With Math KidsCanCode: SCREEN SHAKE The project...

2022-07-28 Ā· 6 min

šŸ¤– Advanced Match 3 Puzzle Game in Godot3

Advanced Match 3 Puzzle Game in Godot

In this tutorial, we will create an advanced match-3 puzzle game, a type of puzzle game in which one piece is moved freely on the board for a certain period of time to erase three or more pieces of the same color in a row. This is easy to understand if you imagine a puzzle game like ā€œPuzzle & Dragonsā€ (a.k.a. ā€œPuzzle Doraā€), which has gained popularity as a mobile game. However, the tutorial would be too large if it included all game elements such as decks, gacha, and battles with enemy characters, so we will focus on the puzzle part of the tutorial this time. For more information on how to create an standard match-3 puzzle game like ā€œCandy Crushā€ or a puzzle game like ā€œLINE Tsum Tsumā€, please refer to the following tutorial. Other Tutorials If you want to make a game like ā€œCandy Crushā€: Match 3 puzzle game in Godot If you want to make a game like ā€œLINE: Disney Tsum Tsumā€: Connecting matching colors puzzle game in Godot The project file that will be created at the end of this tutorial is located in the GitHub repository ....

2022-07-15 Ā· 35 min

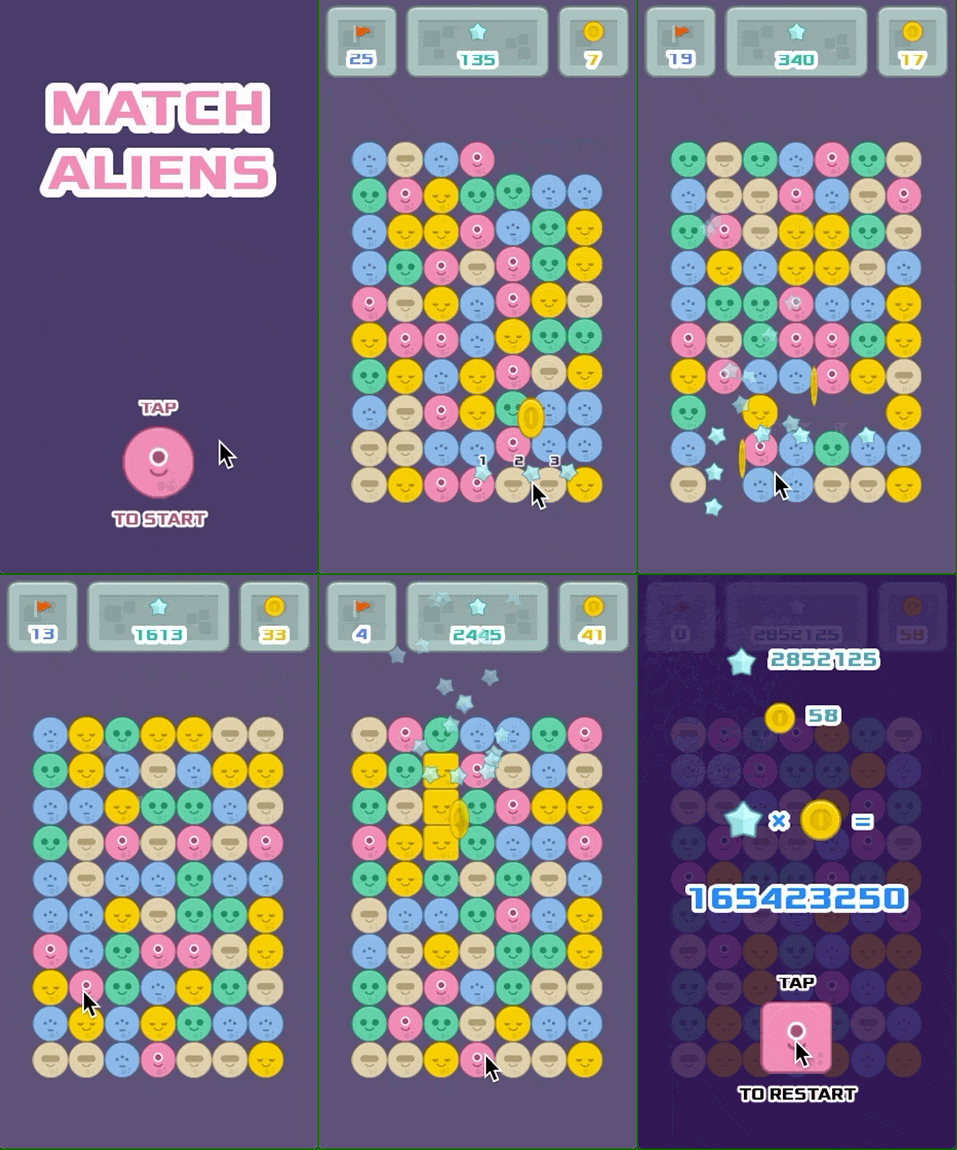
šŸ¤– Match 3 Puzzle Game in Godot3

Match 3 Puzzle Game in Godot

In this tutorial, we will create a match 3 puzzle game. Match 3 is a puzzle game in which players move multiple colorful pieces evenly arranged along a grid on the board to eliminate three or more pieces of the same color in a row. This genre is particularly popular among mobile game players because it is easy to operate and enjoyable. Candy Crush, Toon Blast, and Royal Match are just a few examples of popular games. Puzzle & Dragons and LINE Tsum Tsum are also based on Match 3, although the controls are slightly different. In this tutorial, we will create a puzzle like Candy Crush, in which the pieces are moved only one square at a time to match colors. If you want to make a game like ā€œLINE tsum tsumā€, check another tutorial, Connecting matching colors puzzle game in Godot . The final project file for this tutorial is located at GitHub repository . If you download the .zip file and import the ā€œproject.godotā€ file in the ā€œEndā€ folder with the Godot Engine, you can check the...

2022-07-02 Ā· 12 min

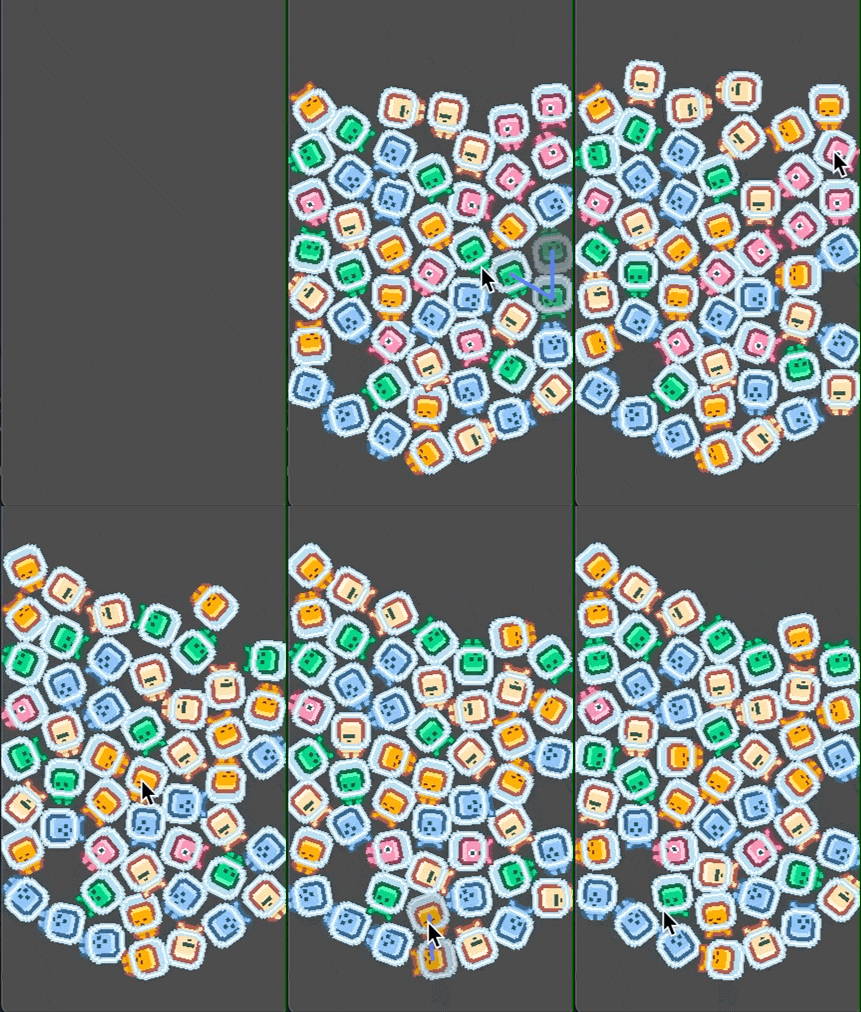
šŸ¤– Connecting Matching Colors Puzzle Game in Godot3

Connecting Matching Colors Puzzle Game in Godot

In this tutorial, we will explain how to create a type of game in which you trace and erase drops of the same color, like the very popular Disney Tsum Tsum smartphone game. LINE: Disney Tsum Tsum Note that the final project file in this tutorial is located in the GitHub repository . You can directly check the project by downloading the .zip file and importing the ā€œproject.godotā€ file in the ā€œEndā€ folder with the Godot Engine. Environment This tutorial was created in the following environment 惻Godot version: 3.4.4 惻Computer OS version: macOS 11.6.5 Memo: Please also use the following articles to help you start creating your game. Downloading Godot Project Manager of Godot Creating a new project First, we would like you to start Godot Engine and create a new project. Letā€™s name the project ā€œConnect Colors Start. Editing project settings Once the editor appears, letā€™s editing the settings for the entire project. First, set the display size for the game. In this case, we set...

2022-06-20 Ā· 10 min

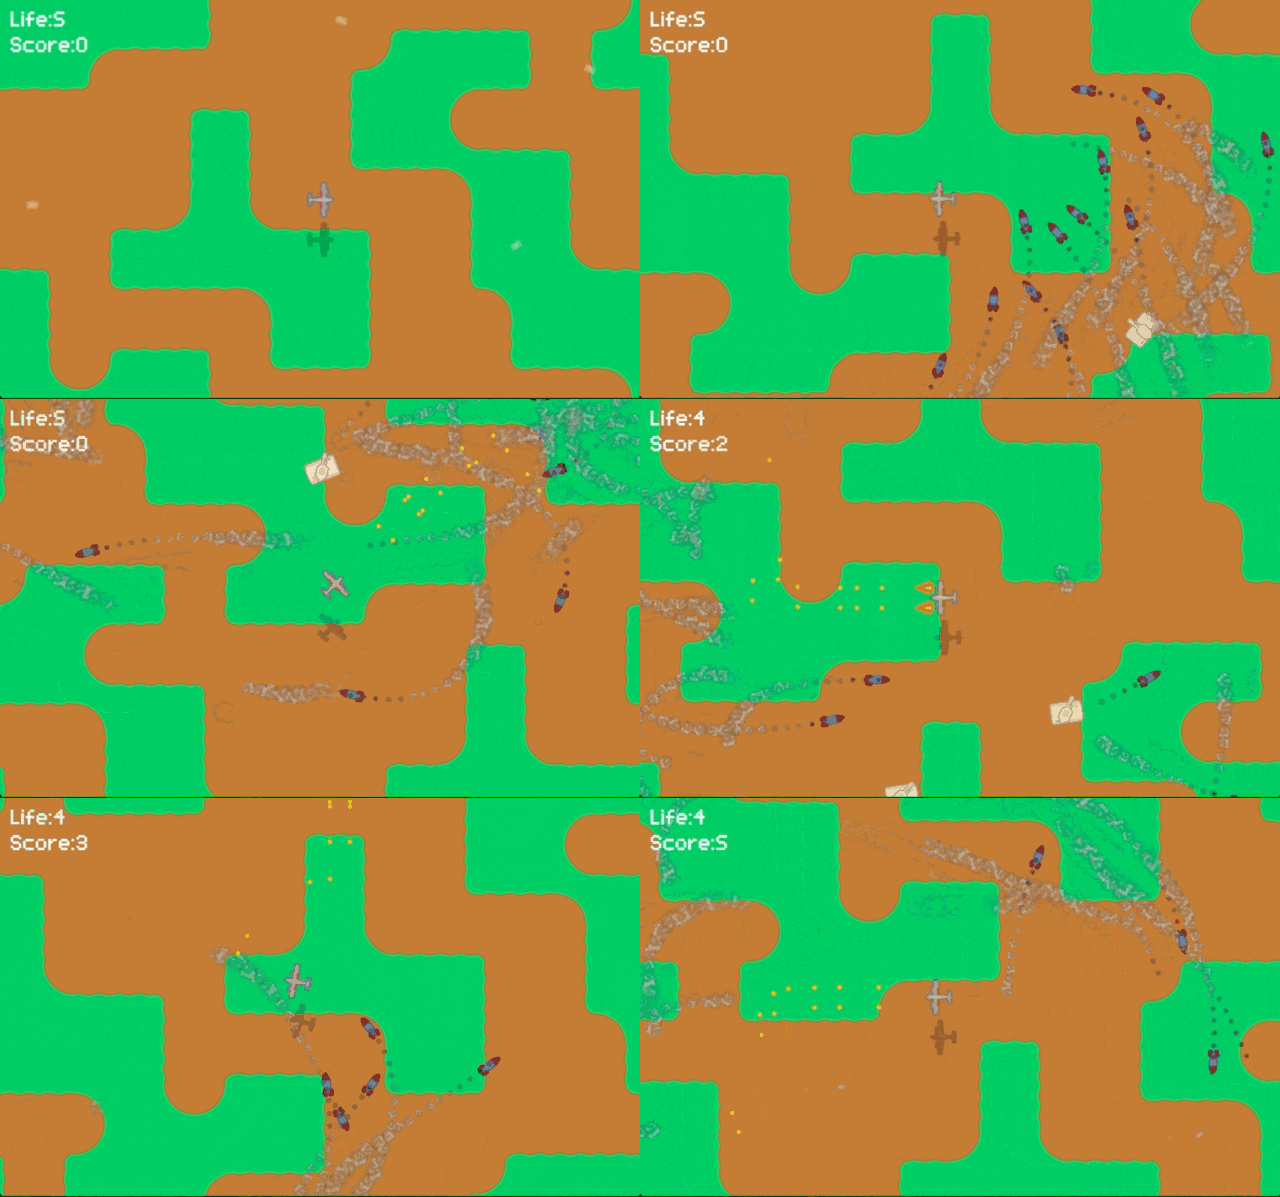
šŸ¤– Homing Missiles in Godot3

Homing Missiles in Godot

In this tutorial, we will create a homing missile in a 2D top-down shooter. A homing missile is a missile that tracks its target. Environment This tutorial was created in the following environment 惻Godot version: 3.4.2 惻Computer OS version: macOS 11.6.5 To focus on the creation of the homing missile, the rest of the project has been pre-created in advance. The project file for this tutorial is located at GitHub repository . After downloading the .zip file, import the ā€œproject.godotā€ file in the ā€œStartā€ folder into the Godot Engine, and you can start the project with only the preliminary work completed. If you would like to see the completed project in a hurry, import the ā€œproject.godotā€ file from the ā€œEndā€ folder. All the assets imported into the project were downloaded from KENNEY website. I used an asset pack called Tower Defense (top-down) . I just want to thank them for making such a great asset pack available to the public. Preliminary Preparation The following game specifications, except...

2022-05-28 Ā· 8 min

šŸ¤– Bullet Hell in Godot3

Bullet Hell in Godot

In this time, we will create a bullet hell aka barrage for a barrage shooting game. The bullet hell is a large number of bullets (or similar long-range attacks) like a curtain. A ā€œbullet hell shooterā€ is a game in which the player shoots at and defeats enemy characters while dodging and weaving through the gaps between the bullets. Some games specialize in simply dodging the bullets. Many games are based on the motif of spaceships and fighter planes that fit the image (in this tutorial, a ground battle between a wizard and a monster though). In this tutorial, we will focus only on creating a bullet hell. Also, while bullet hell come in various shapes and sizes, we will focus on rotating-type bullet hell. Environment This tutorial was created in the following environment 惻Godot version: 3.4.2 惻Computer OS version: macOS 11.6.5 The project file for this tutorial is located at GitHub repository . After downloading the .zip file, import the ā€œproject.godotā€ file in the ā€œStartā€ folder into the Godot Engine, and you will be able to start with a project that has only been prepped....

2022-05-23 Ā· 15 min

šŸ¤– Four Types of Guns for Top-down Shooting in Godot3

Four Types of Guns for Top-down Shooting in Godot

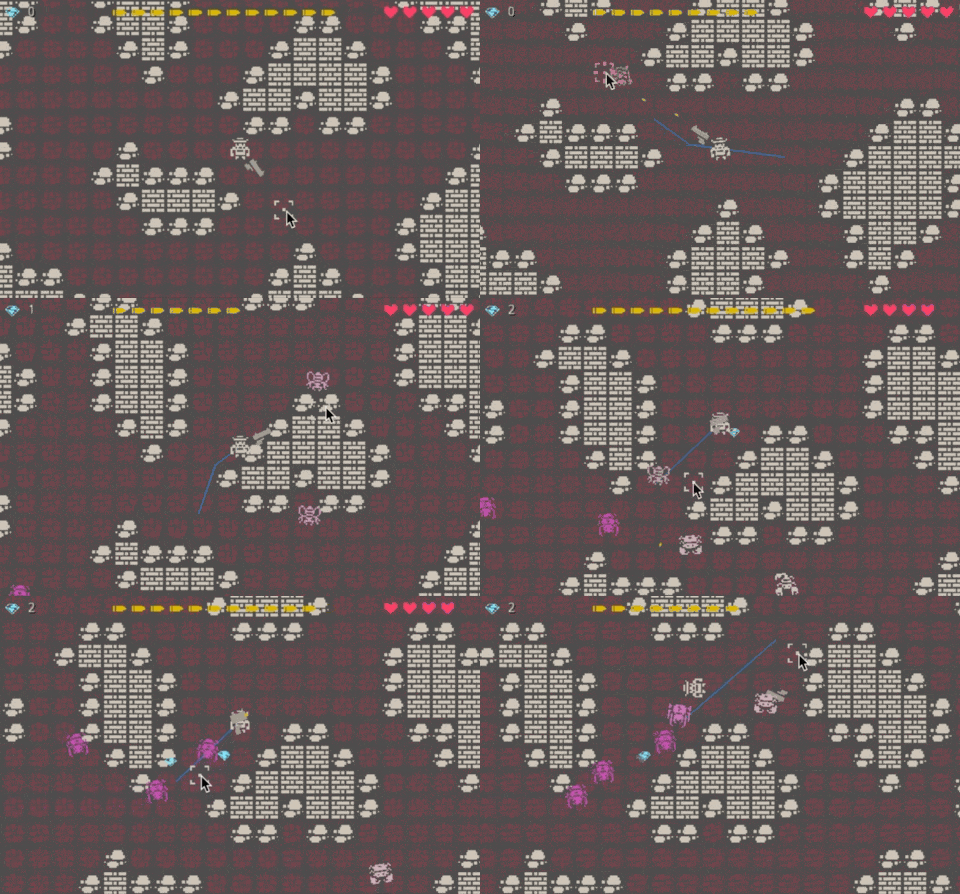
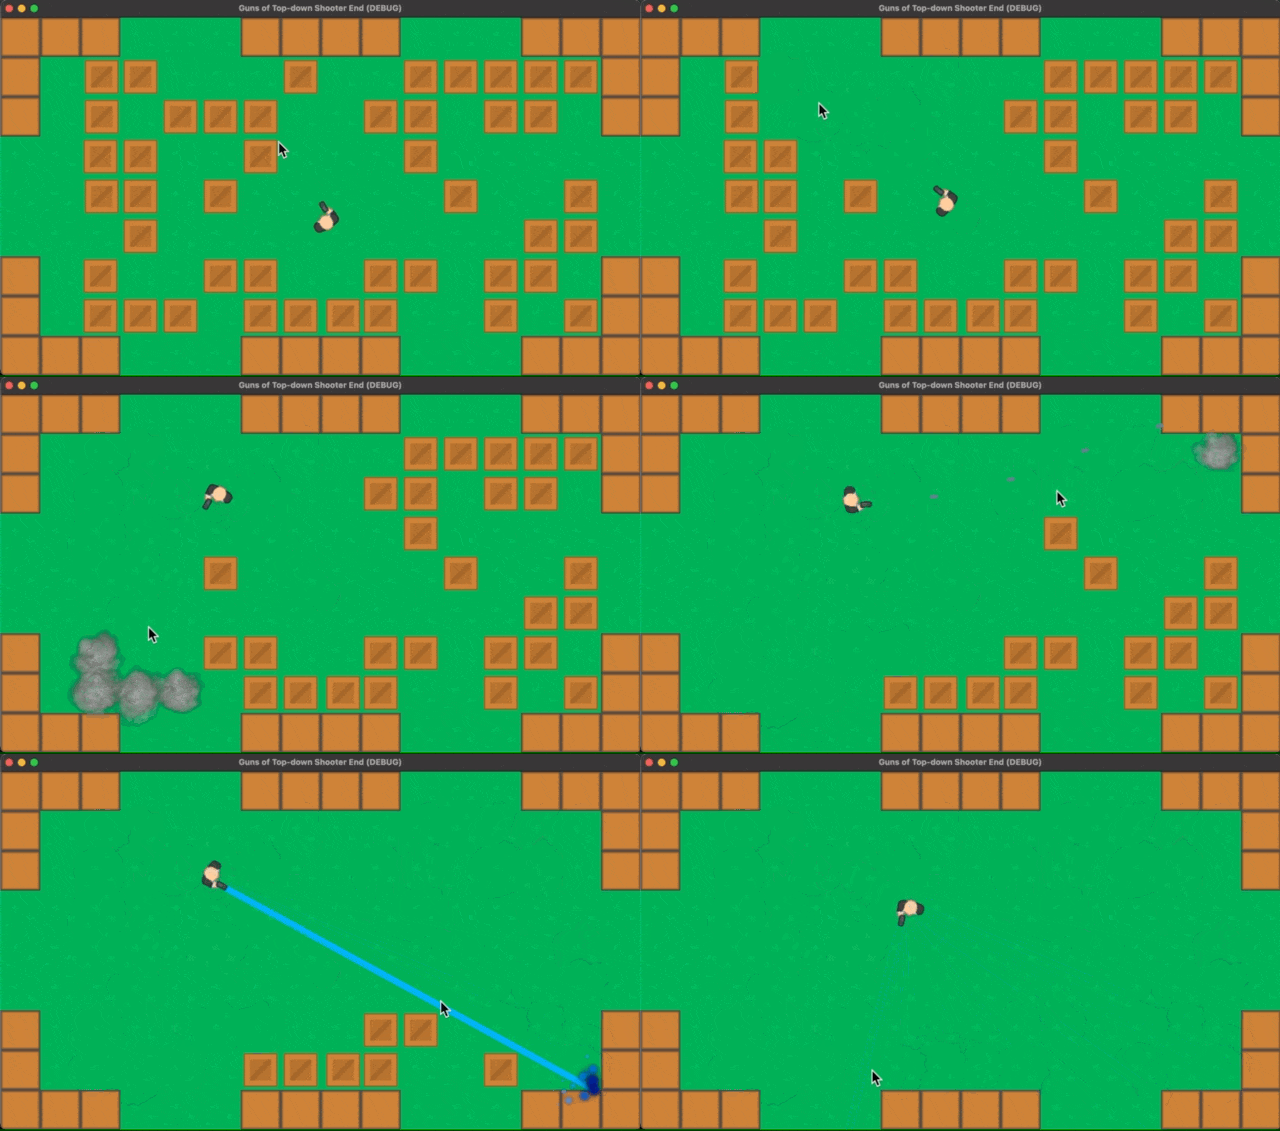
In this tutorial, we are going to make four types of guns that commonly appear in 2D top-down shooters. Specifically, they are as follows. Handgun Shotgun Machine gun Laser Gun Environment This tutorial was created in the following environment 惻Godot version: 3.4.2 惻Computer OS version: macOS 11.6.5 Since this tutorial will focus on gun creation, the following has been prepared in advance. 1. Game world A scene called ā€œWorld.tscnā€ was prepared, and the appearance was simply created by adding a ā€œTileMapā€ node. In addition to the ā€œTileMapā€ node, a ā€œPlayerā€ node and several ā€œObstacleā€ nodes were added. For these, we created individual scenes and added the instances. 2. Player Character Created as ā€œPlayer.tscnā€ scene. The root node is the ā€œKinematicBody2Dā€ class, and the ā€œSpriteā€ and the ā€œCollisionShape2Dā€ were added as child nodes. The texture of the ā€œSpriteā€ node is a hitman with a gun. A node named ā€œMuzzleā€ of the ā€œPosition2Dā€ class was placed at the tip of the image of the gun held by the hitman....

2022-05-07 Ā· 10 min

šŸ¤– Powerful Search Features in Godot

Powerful search features in Godot

When we develop a game, especially a big one, sometimes it may often happen that we can never find the scene which we want to edit or we cannot remember where the script file is, which we are going to edit. In this article, I am going to introduce some so powerful and useful search features with keyboard shortcuts. Once you know those, you can reduce the huge amount of time looking for something which may be the most uninteresting in the game development. In addition, you can use the search features in a much faster way instead of looking for a script file and clicking it in the file system dock, for example. By the way, we can see all default shortcuts in the official online documents of Godot. Be careful about that it says Alt as Option on macOS. GODOT DOCS Default editor shortcuts Anyway, why do not you try to use the searches because it is sure to improve work efficiency. I will introduce ones in order of the widest range of searches first. Quick Open To use Quick Open, perform the following keyboard shortcut on Godot editor....

2022-04-27 Ā· 5 min

šŸ¤– Project Manager of Godot3

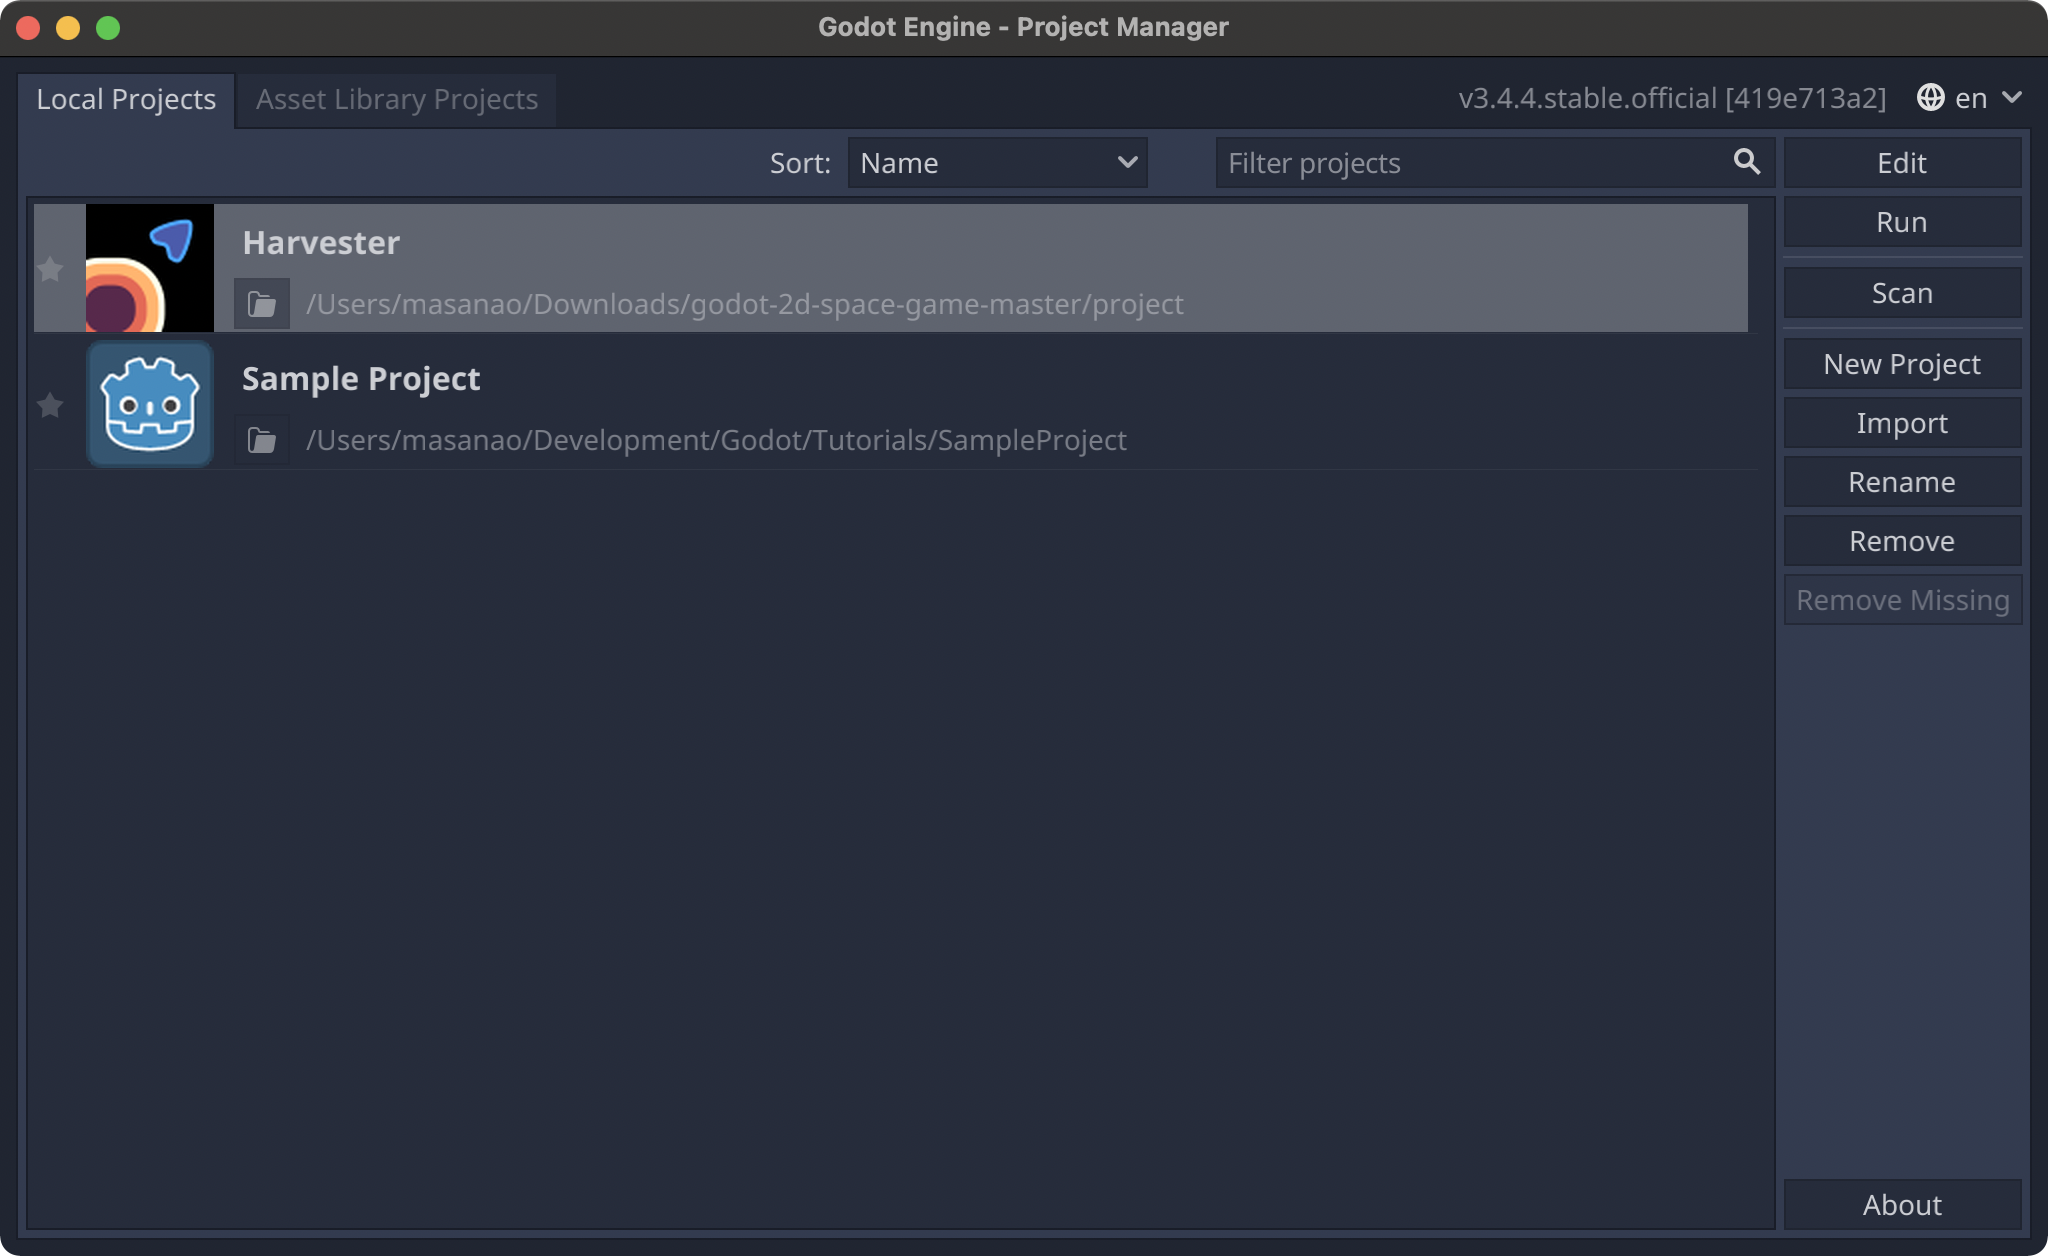
In this article, we will introduce what you can do with the Project Manager. When Godot is launched, the first thing that appears is the Project Manager. The Project Manager is a tool for managing projects handled by Godot, including the following operations. Creating new projects Loading project files downloaded from the Web Renaming a project Removing projects that were previously managed by the Project Manager. When using Godot for the first time, a dialog box will appear as shown in the following screen shot, prompting you to open the Asset Library. The asset library can be easily accessed at any time, so choose Cancel for now. Creating a new project Click ā€œNew Projectā€ from the right sidebar of the Project Manager. Click ā€œBrowseā€ to choose the path where you want to save the new project files. Click on ā€œCreate Folderā€ in the upper right corner of the window that opens. Enter a name for the folder. As an example, it was named ā€œSampleProjectā€. Once the folder is created, the folder path is automatically selected. Continue to click ā€œSelect Current Folderā€ in the lower right corner....

2021-10-30 Ā· 4 min