Introduction
With Godot 4.3, the previously used TileMap class has been deprecated (meaning it won’t be updated anymore), and a new TileMapLayer class has been added in its place. So, I’m going to actually create a tilemap using TileMapLayer!
My environment at the time of writing
Godot version: 4.3
Computer model: MacBook Air M1, 2020
OS: macOS 14.6.1
Setting the Screen Size
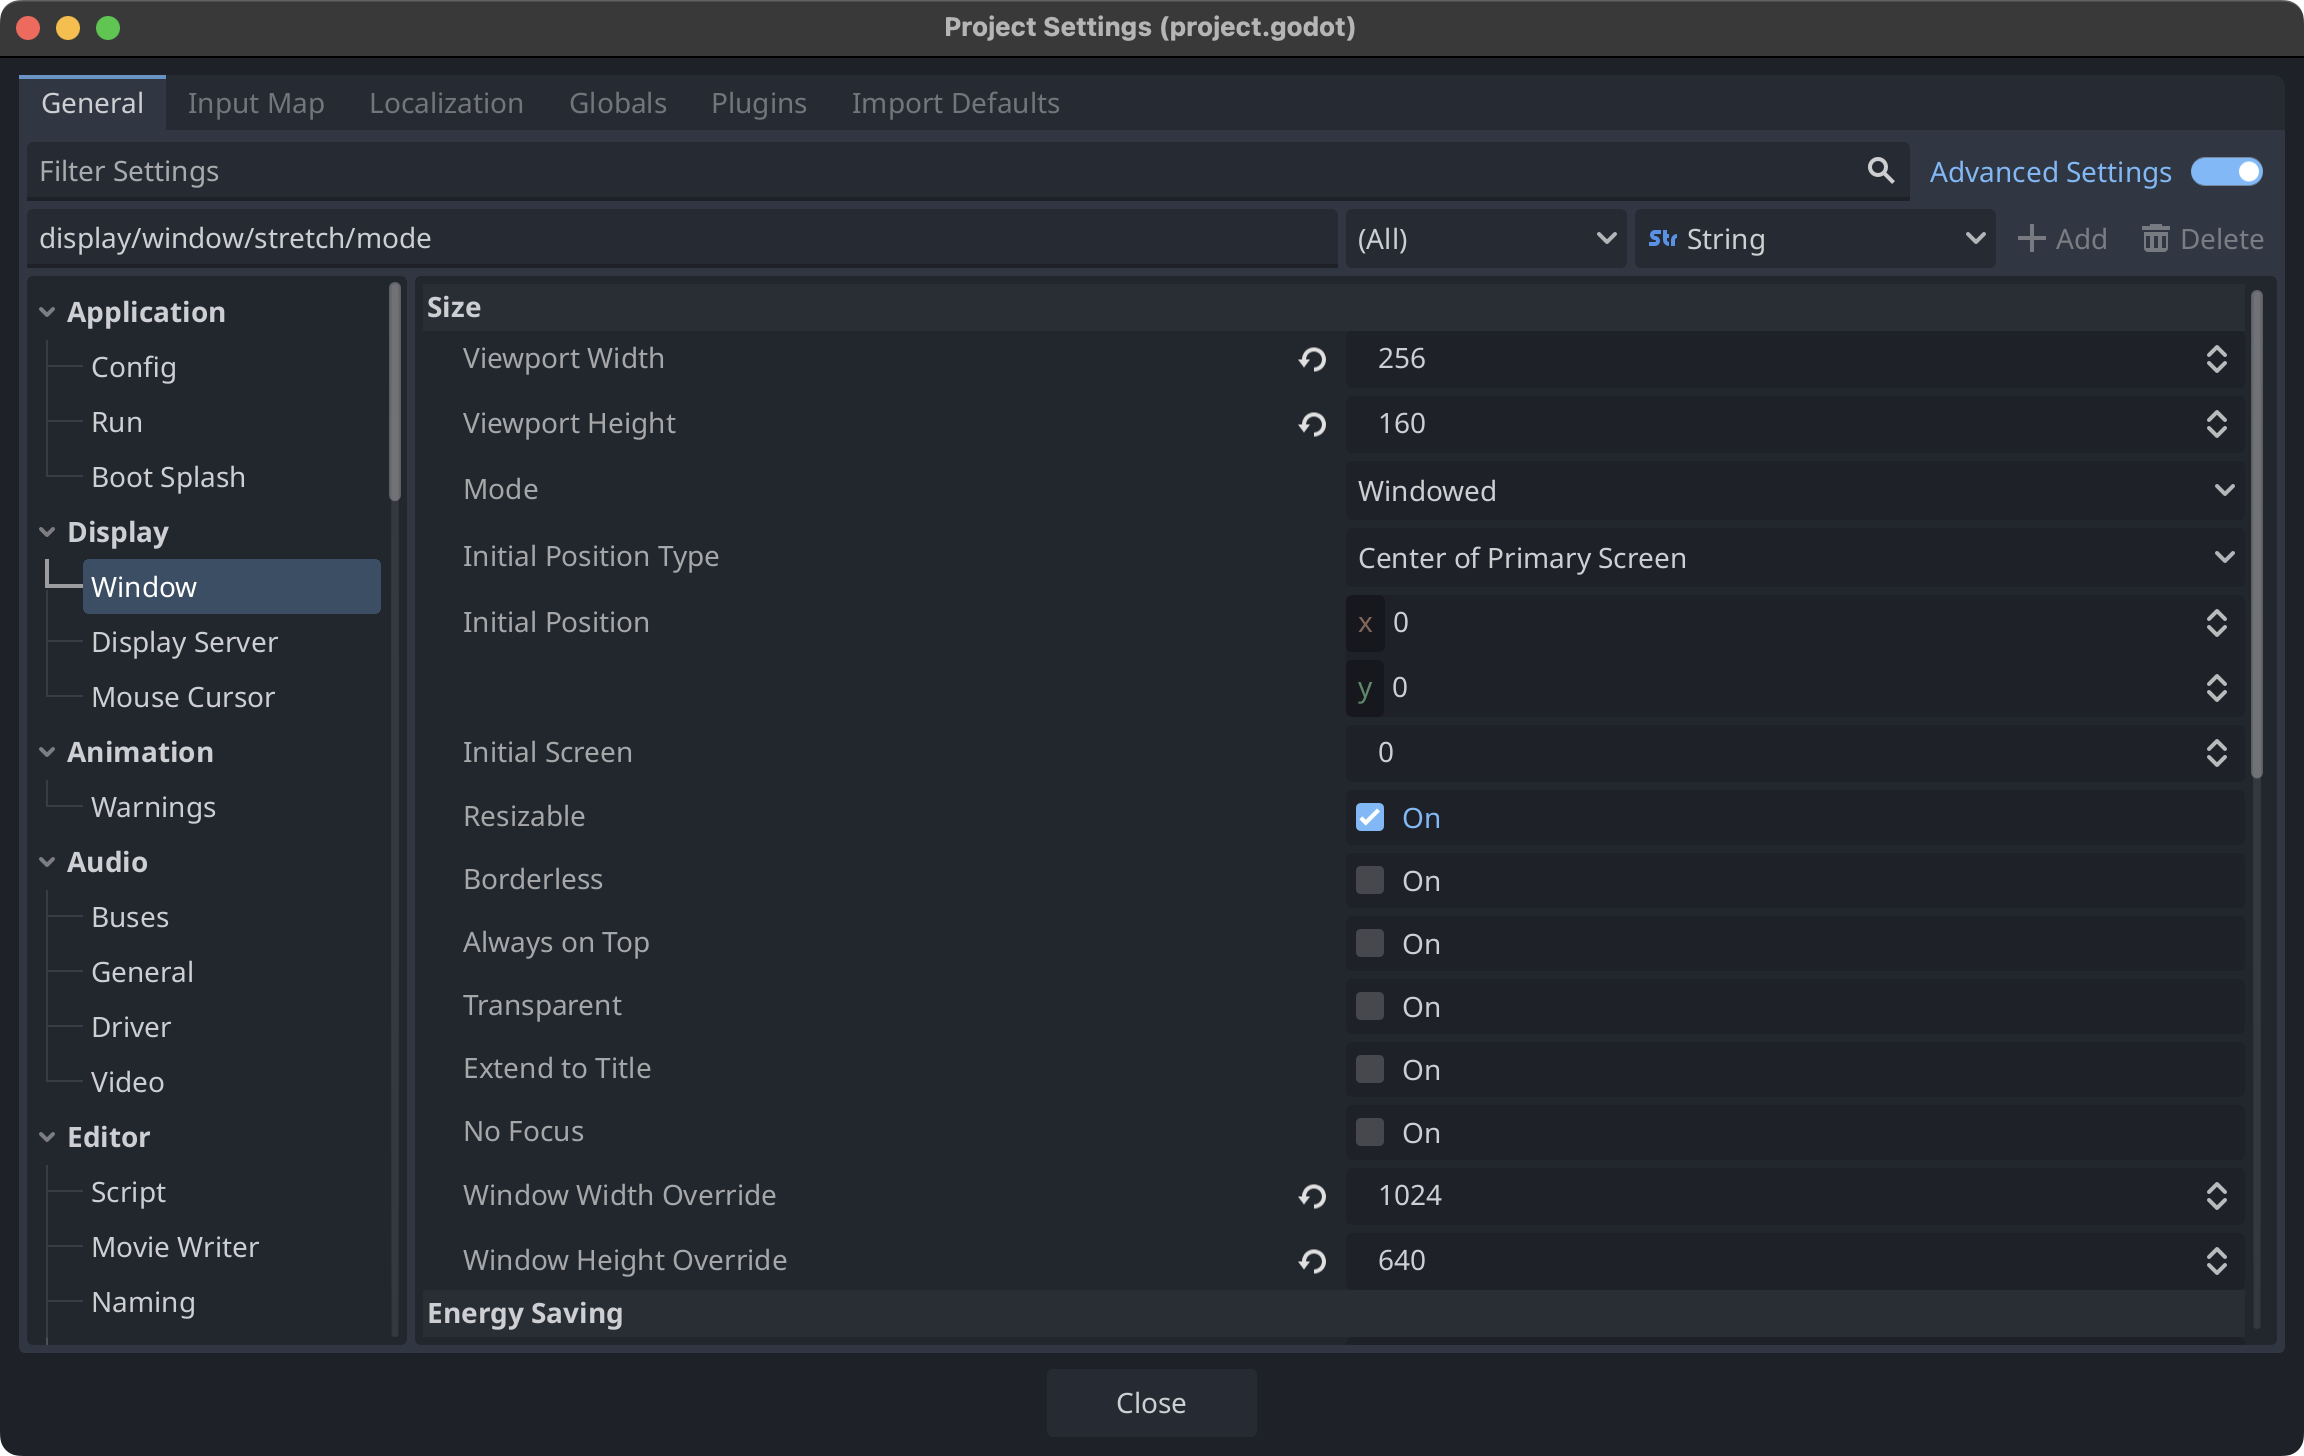
I’ll be using 16x16 px tile images this time, so I’ll make the Viewport small enough to fit the tiles neatly. After creating a new project, I went to Project Settings > General tab > Window and set the following:
- Size:
- Viewport Width: 256
- Viewport Height: 160
- Window Width Override: 1024 (4 times)
- Window Height Override: 640 (4 times)
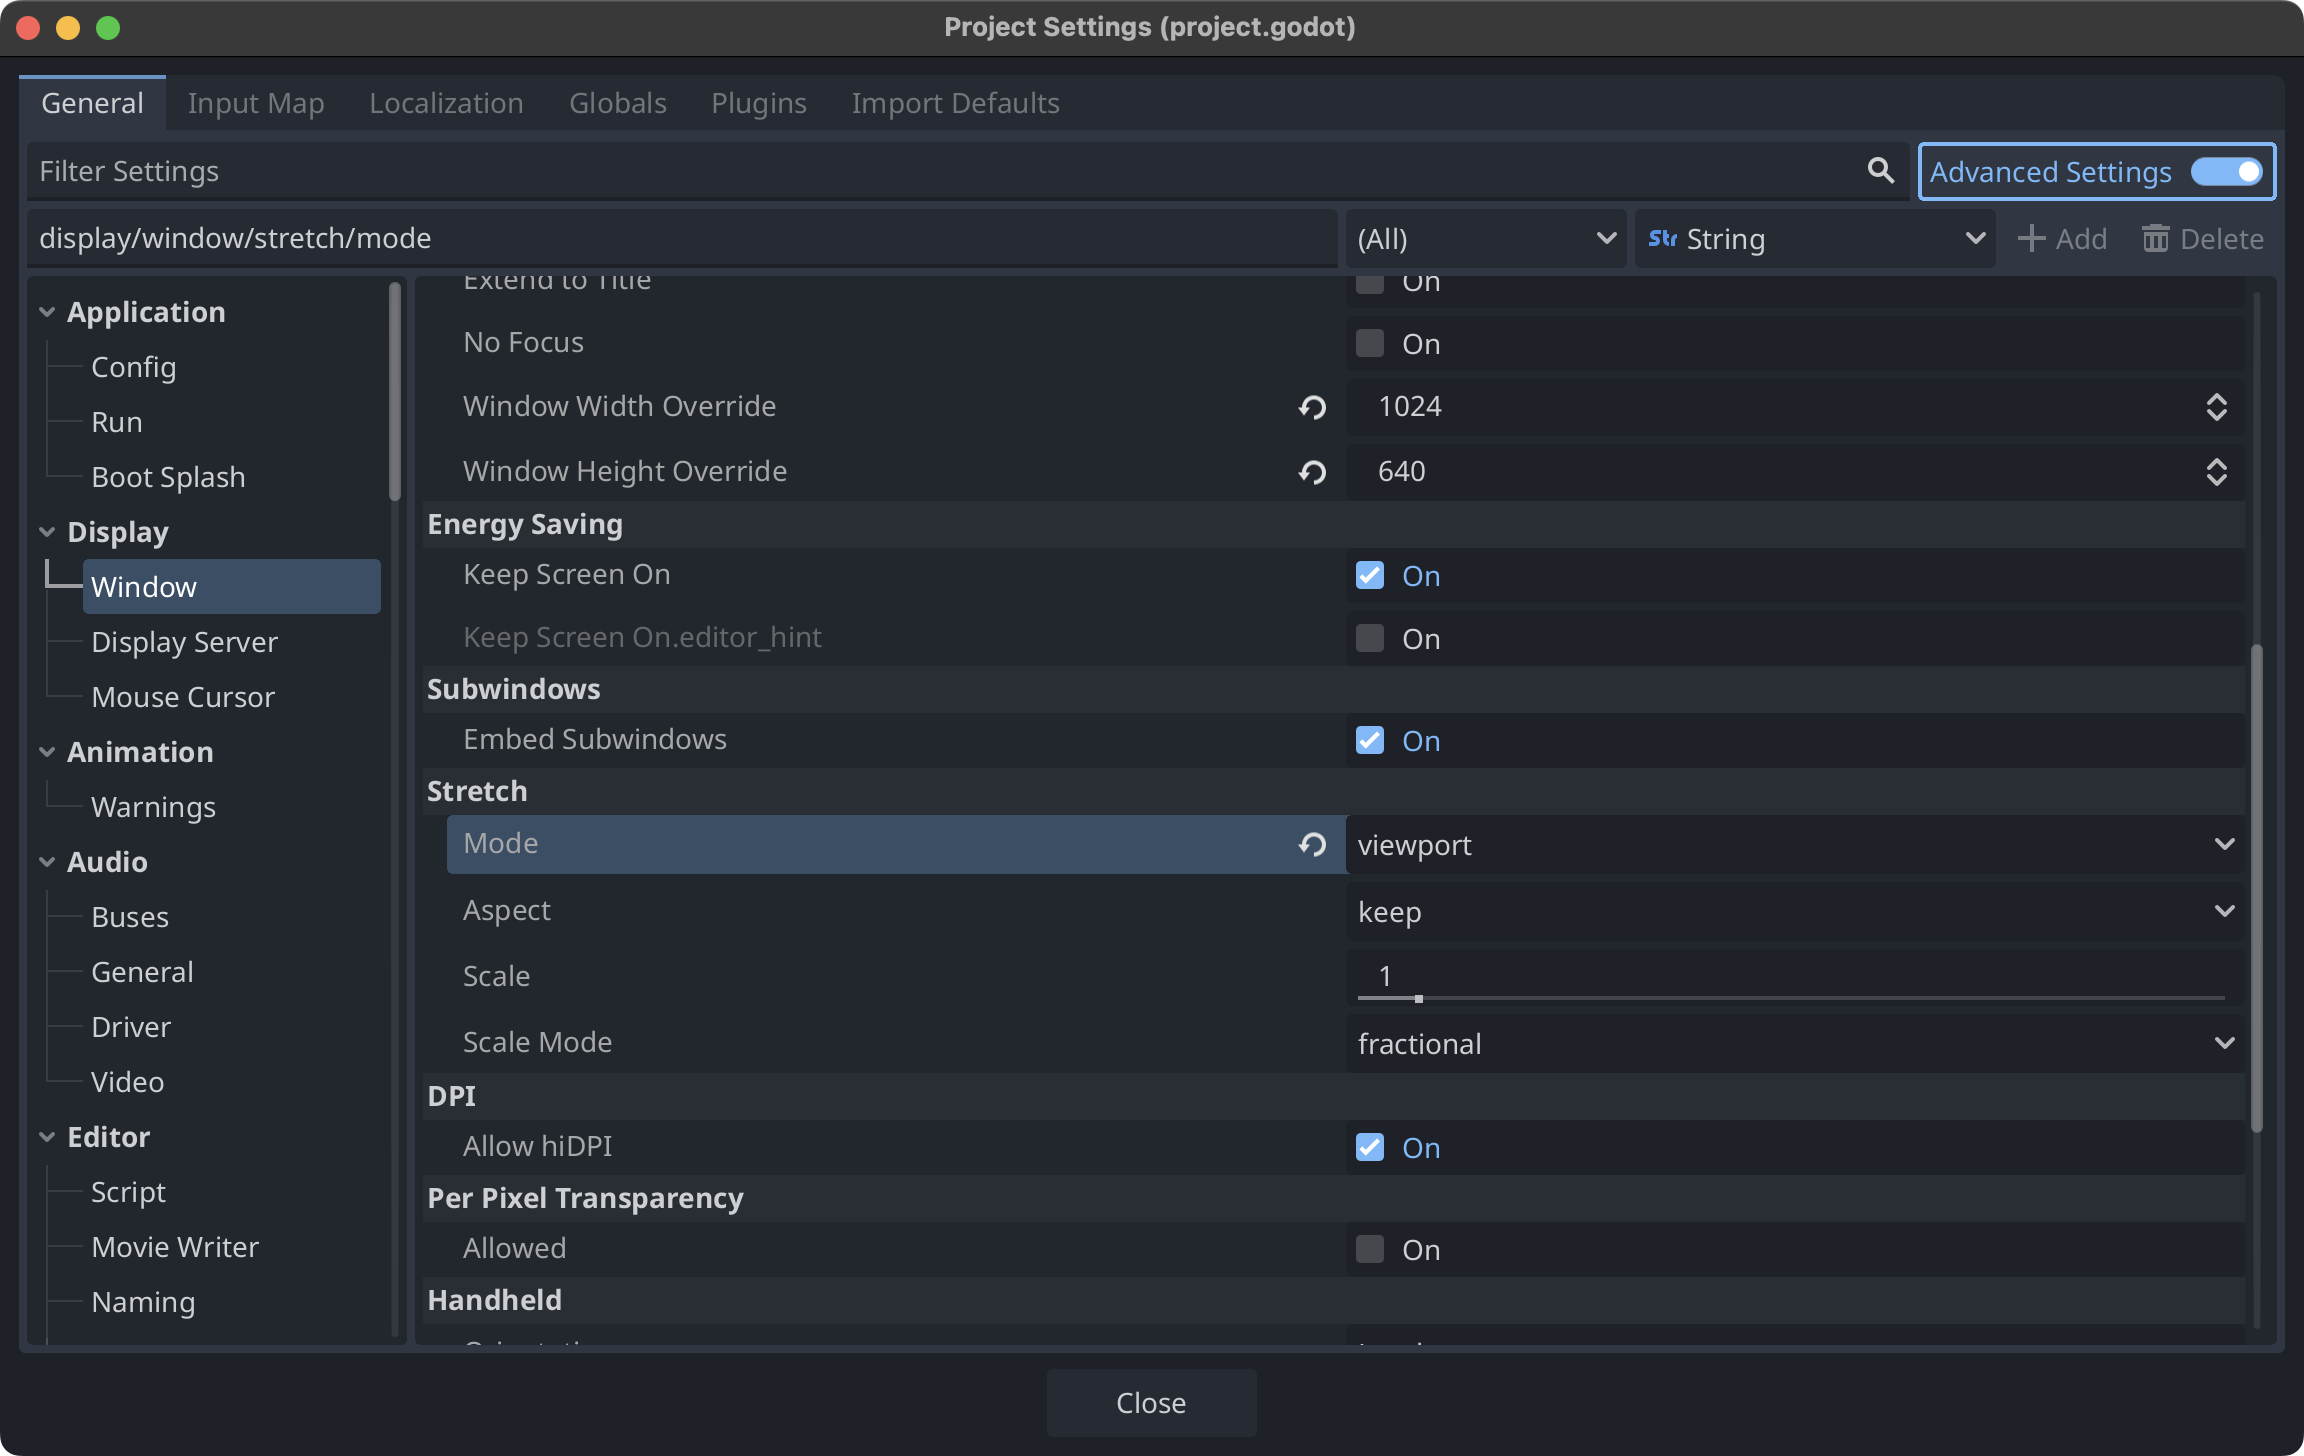
Then I scrolled down a bit in the settings panel and set the stretch mode to viewport so that the game graphics scale to fit the window size. I left the aspect ratio as is.
- Stretch:
- Mode: viewport
- Aspect: keep (default)
- Scale: 1 (default)
- Scale Mode: fractional (default)
Importing Assets for Tiles
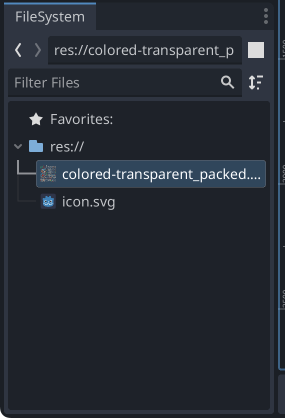
I downloaded the 1-Bit Pack from KENNEY . It’s a collection of many 16x16 px tile images. It’s really easy to use, and I’m so grateful for it. Thank you very much! I imported the colored-transparent_packed.png from the downloaded asset’s TileSheet into Godot’s file system. It’s now imported.
Creating a Scene
I started by creating a new scene. I used Node2D as the root and named it World. Simple names are easy to understand and work well. Then, I added a TileMapLayer as a child node. This is my main dish for today!

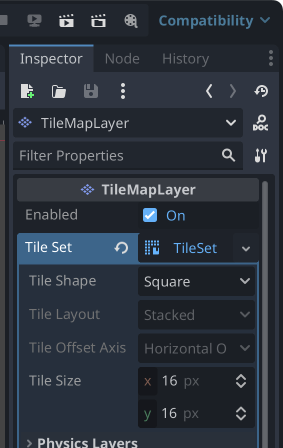
In the Inspector, I added a new TileSet resource to the TileMapLayer’s Tile Set property.
Creating a TileSet
Now I’ll create a tileset in the TileSet editor. By the way, it looks a bit similar to the neighboring TileMap editor, so it’s easy to get confused. If you’re wondering “Huh?”, that’s probably why. Also, the TileSet and TileMap options won’t appear in the editor unless you have the TileMapLayer node selected in the Scene dock. This can be puzzling when you’re not yet familiar with Godot (or maybe it’s just me).
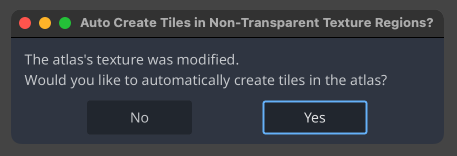
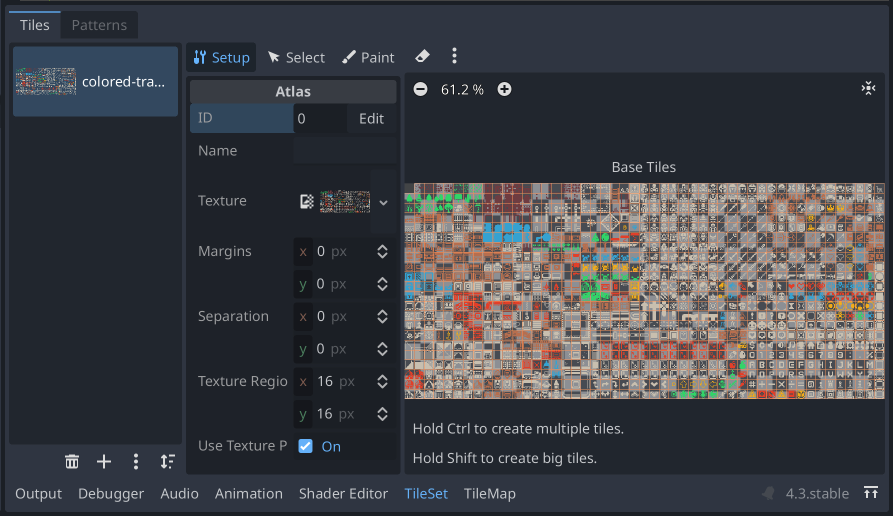
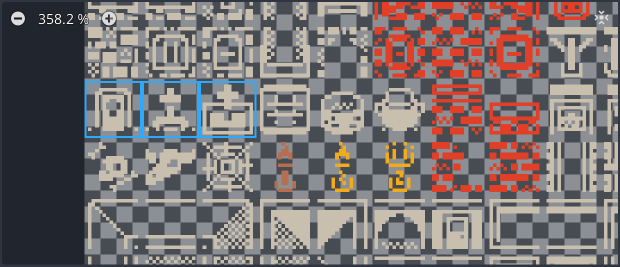
After opening the TileSet editor, I dragged and dropped the imported tile image from the file system into the empty pane on the far left. A dialog appeared asking if I wanted to automatically create tiles in the atlas. I won’t use all the tiles, but for convenience, I selected Yes.
This created 16x16 px tiles for all areas of the image within the texture region specified in the Inspector. There are various detailed settings, but for now, this gives me a palette ready for drawing.
Duplicating TileMapLayer
Since Godot 4.3 has “Layer” in the class name, I’m going to try dividing the tilemap into multiple layers and stacking them. Otherwise, it might be hard to see the difference from the previous TileMap class.
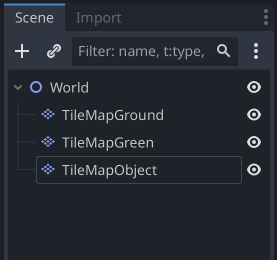
So, in the Scene dock, I duplicated the existing TileMapLayer node twice and named each node as follows:
- TileMapGround
- TileMapGreen
- TileMapObject
This gives me my canvas for drawing.
Creating the Tilemap
TileMapGround
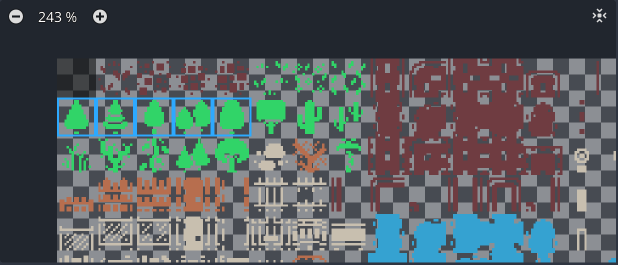
I’ll start from the bottom layer. First, the TileMapGround node. I’ll draw the ground on this. I kept the 2D editor displayed at the top and opened the TileMap editor below it. There are four ground-like tiles in the atlas, so I selected multiple of these.

Then, to place these four tiles randomly, I clicked the dice icon to enable it. When it turns blue, it’s enabled.

I also enabled the grid display around the cursor as it makes it easier for me to place tiles.

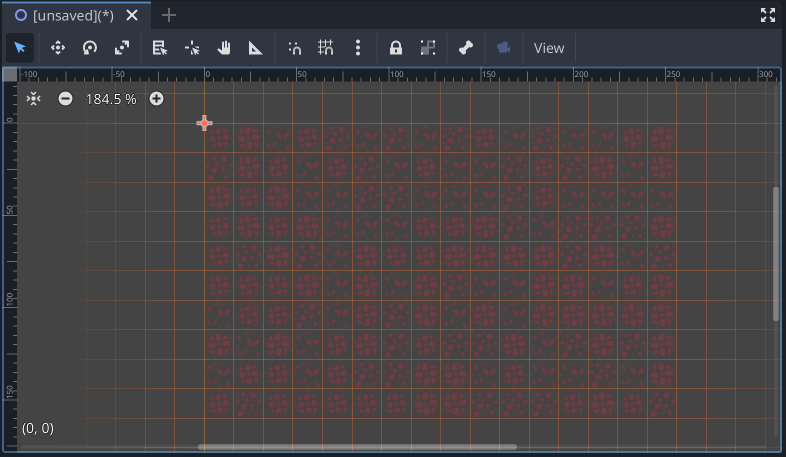
I’ll fill the entire screen with ground tiles, so I selected the rectangle tool (what’s the actual name for this?). I’m already saying “fill” here. My brain is in drawing mode.

Then, I dragged from the bottom right corner of the screen size towards the top left corner (0, 0) to select the range, and tiles were placed all at once.

The ground tilemap is complete.
Now, I’ll place some vegetation tiles on TileMapGreen and build some tombstones on TileMapObject. The work procedure should be self-explanatory now (…right?)
Let’s move on to TileMapGreen.
TileMapGreen
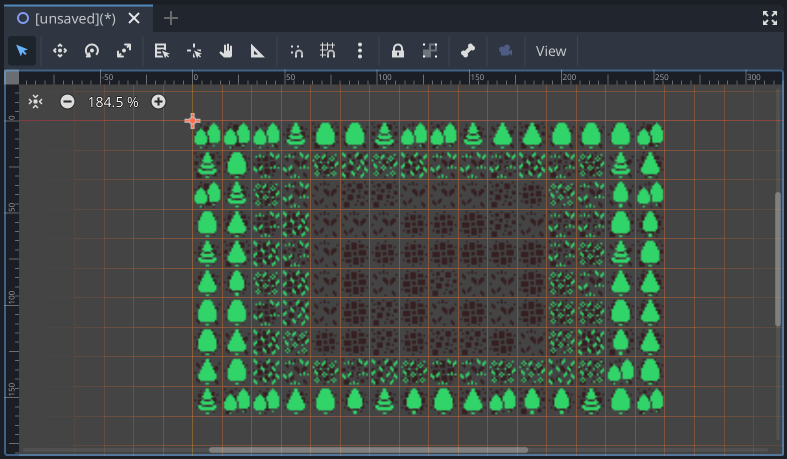
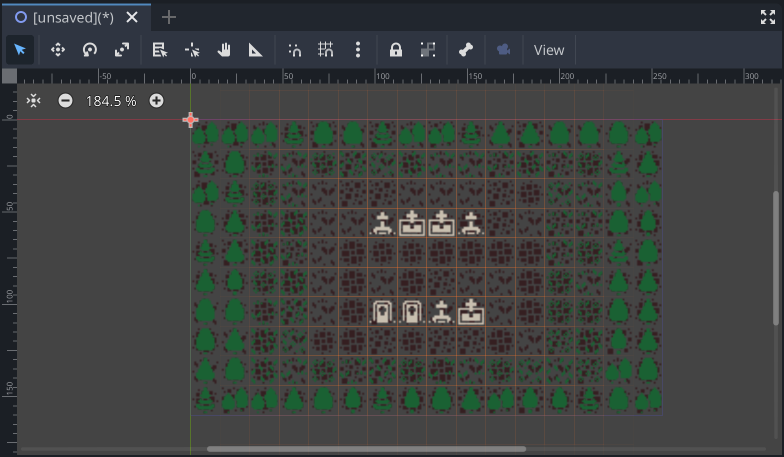
First, I want to surround the screen’s perimeter with trees. I’ll randomly place several tree tiles by rolling the dice.
Also, I want to grow grass inside the trees, so I’ll select some grass panels and paint while rolling the dice again (lol).
By the way, the line tool was useful for placing various trees around the perimeter. It seems good for placing tiles in a thin, long line.

After growing vegetation, it looks like this. Can you see how it overlaps with the ground tiles? (It might be a bit hard to tell?)
Incidentally, when I made a mistake painting weeds and erased with the eraser tool, the ground tiles of the TileMapGround node below didn’t disappear. This is really good for people used to tools like Clip Studio Paint or GIMP.
TileMapObject
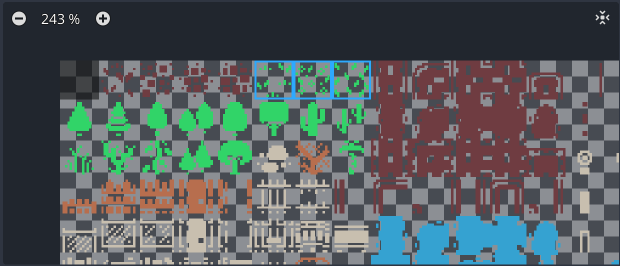
Finally, I’ll build tombstones on TileMapObject. There are several tombstone tiles, so I’ll select multiple and paint while rolling the dice again.
The pen tool is handy for placing tiles at specific points. In terms of drawing techniques, this is like pointillism.

I’ve built some fine tombstones (well, whether they’re fine or not, I don’t know).
Running the Project
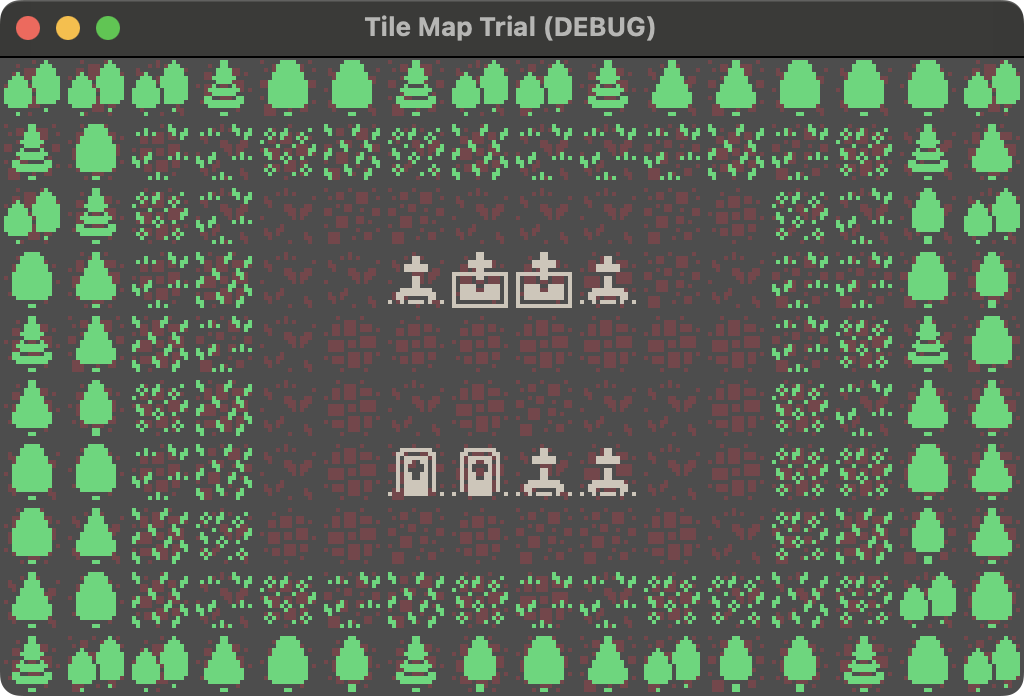
I hadn’t saved the scene even once… I ran the project to check the actual game screen. No problems. It’s complete. Huh? You say you’ve seen this picture somewhere before? Ha ha, you must be joking.

Conclusion
This time, I confirmed the basic method of creating a tilemap using the TileMapLayer class introduced in Godot 4.3. The way of editing tilemaps doesn’t seem to have changed much from the conventional TileMap node. With the conventional TileMap class, you could set layers as information specific to the tilemap, but with TileMapLayer, you can manage nodes in the Scene dock just like other class nodes, which I think has become very intuitive and easy to understand. Since the TileMap class is deprecated, it seems wise to get used to handling the TileMapLayer class in the future. That’s all for now!